A simple way to make an original "tile" for every taste
The tile is used in almost any interior: it is practical, beautiful and has a long service life. It turns out that you can do it yourself at home. Here is one of the easiest ways to create an original tile for every taste.
What will be required for the manufacture of tiles
This is the minimum list of materials that will be needed in the process. When the manufacturing principle becomes clear, you can abandon those that are not needed.
Wallpaper
They are great for the process. Wallpaper paper is quite thick. Thanks to this, it lies flat, without creating creases or creases. It is advisable to select plain wallpaper. Or with such an ornament that will be easy to dock when the tile is ready.
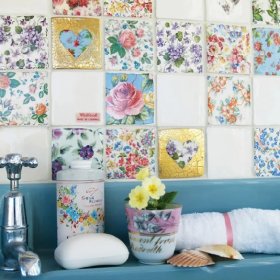
Paper napkins with a pattern or any other patterns
This is an alternative to wallpaper. You can choose napkins with the image that you like. The main thing is that it fits well in size. Ideally, if the picture can fit on the whole glass. It is advisable that the wipes be denser. Then they can be glued neatly. Another option is to cut out beautiful drawings from the remains of old wallpapers.
Glass
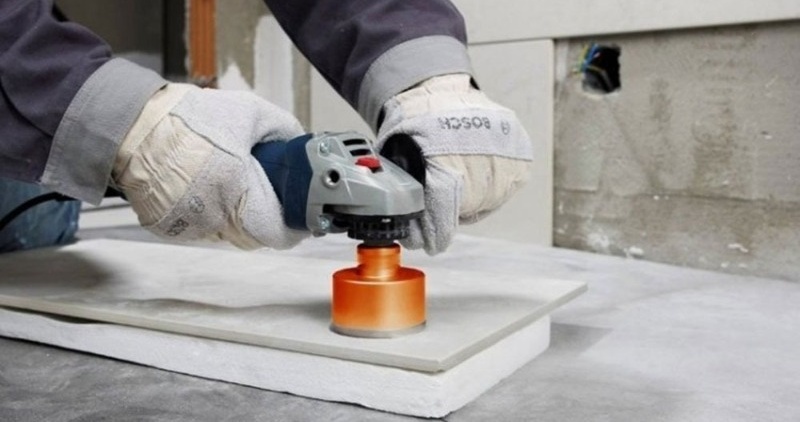
This is the basis of future tiles. A drawing or fragment of wallpaper will be pasted onto it. For this, ordinary glass with a thickness of 4 mm is suitable:
- Glass molds are cut independently using a glass cutter.
- For tiles, select any suitable glass sheets.
- The size of the finished tile needs to be marked directly on the glass and cut out according to the marking. Or use any store tile as a template.
- When the glass blanks are cut, you need to rub the edges with a fine emery cloth and make them smooth.
Glue
You will have to work with him in two stages. Therefore, you need 2 types of glue:
- PVA glue. It will be needed in order to stick a paper drawing on a glass base.
- Any tile adhesive in order to stick the finished product.
Sticking paper on glass
When everything is prepared, you can begin to work. PVA glue does not need to be bred. So he better stick paper to the glass.
Procedure:
- Paper templates are recommended to be made a little larger in size (2-3 mm). So it will be easier to stick them. And the protruding edges simply wipe with sandpaper when the glue dries.
- If you decide to stick fragments of napkins, it is better to use a paper substrate in several layers for them. Then they will not shine through, and the view will be more presentable.
- Sometimes two options are combined. A pattern carved from a napkin is pasted. And on top is a fragment of wallpaper that will serve as the background.
- When the tile is ready, you need to leave it to dry completely. This is necessary so that there are no white streaks of glue left on it.
Bonding homemade "tiles"
The final stage remains. Now you need to stick the tile in its place:
- You will need ordinary tile glue, which must be diluted according to the instructions.
- Gently glue the tile and allow it to dry well and gain a foothold.
- Seams are rubbed with water grout.
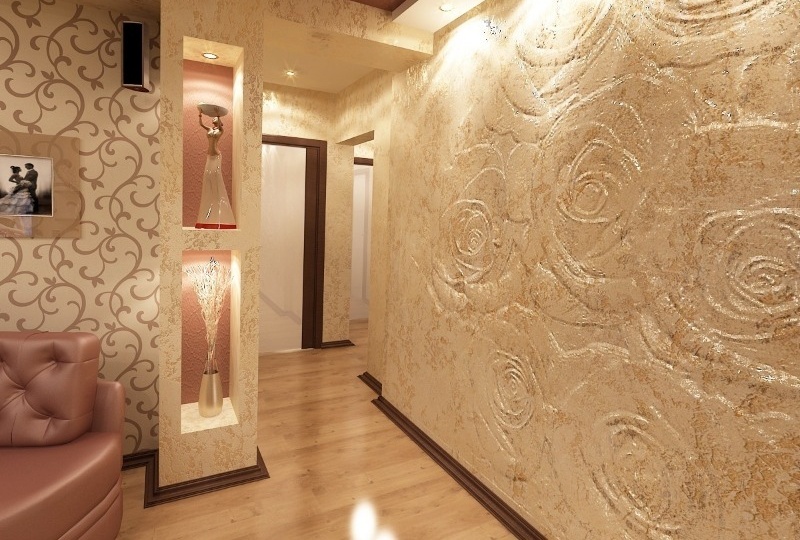
Where can I use glass "tile"
Such a beautiful, home-made tile can be used in different rooms and interiors:
- You can lay an apron or walls in the kitchen;
- Another popular option is the walls in the bathroom;
- use in any other room where it fits in design.
Do not spread floors with such material. Glass may not withstand increased loads. But there are several significant advantages: resistance to temperature extremes, high humidity and very easy care.
A method of manufacturing such a homemade tile is quite simple and economical. And if you connect imagination, you can create very beautiful ornaments with a unique pattern.