Switch replacement, transfer or repair

The light switch in an apartment or office is one of the most important devices. If it breaks, it will not be possible to activate the lighting. And this can paralyze any important human activity. Typically, work to restore lighting in such cases is required to be done urgently. Speed can be ensured if you do it yourself. We will prove that changing or repairing the circuit breaker is easy.
Content
How to replace an old switch with a new one - instructions
Most often there are situations when it is necessary to replace a switch that has outlived its life with a device purchased in a store. In addition, most breakdowns lead to the described process. And it begins with the dismantling of the old device.
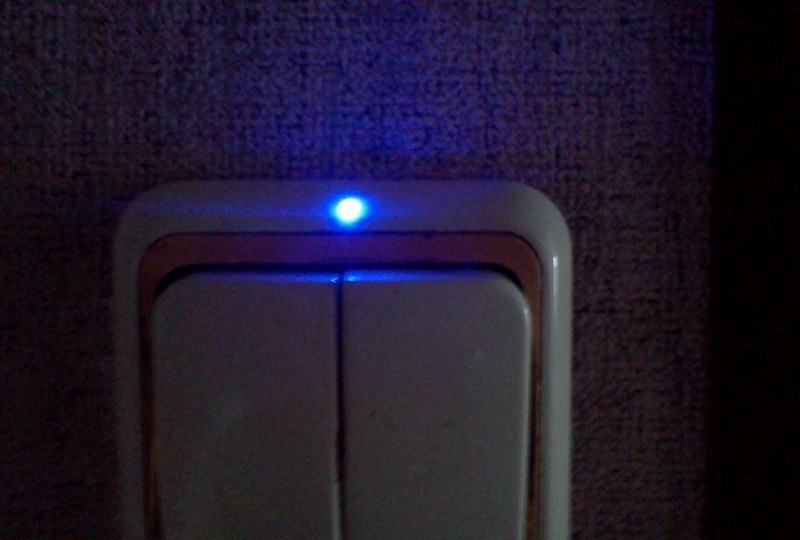
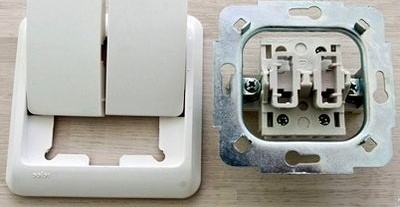
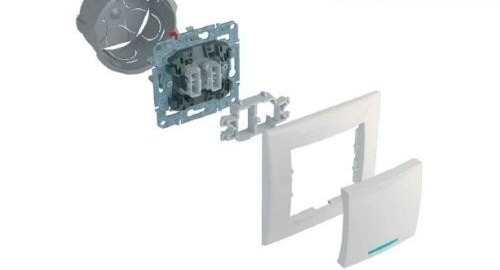
Getting started, remember what circuit breaker works. Here is a visual illustration.
Two-key device shown
How to remove the switch
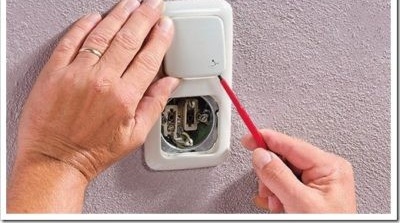
First you need to arm yourself with a screwdriver.
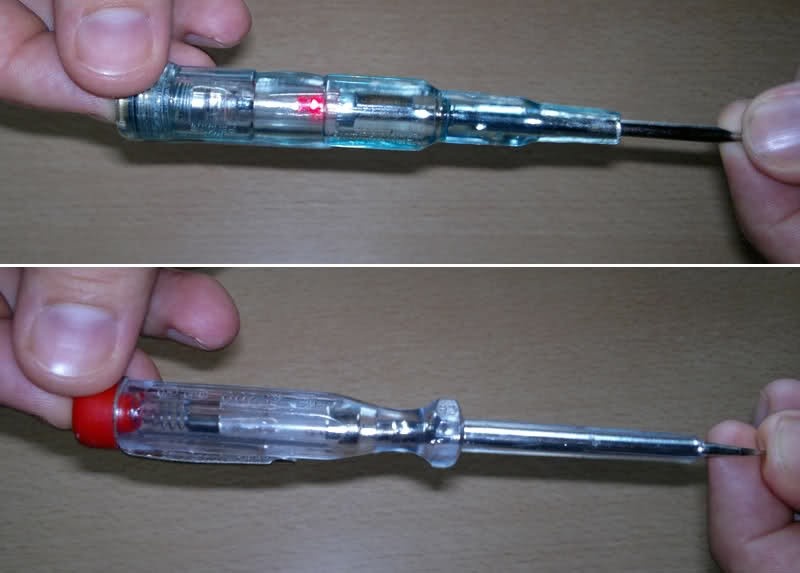
For these purposes, an indicator is best suited. This tool has a small sting, which is suitable for any head of a bolt, both with a cross groove and with a regular slotted one.
There are several types, but the handle is necessarily transparent
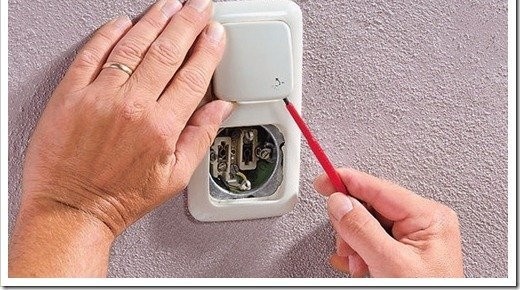
In addition, if necessary, you can immediately check whether there is an electric current in the contact. To do this, it is necessary to touch the tip of a screwdriver with a live screw head while simultaneously placing your finger on the rear end (end) of the indicator. The diode lamp inside the tool handle should light up.
If there is no such probe, an ordinary screwdriver with a replaceable sting will fit, one in which the iron tip is pulled out of the handle and rearranged.
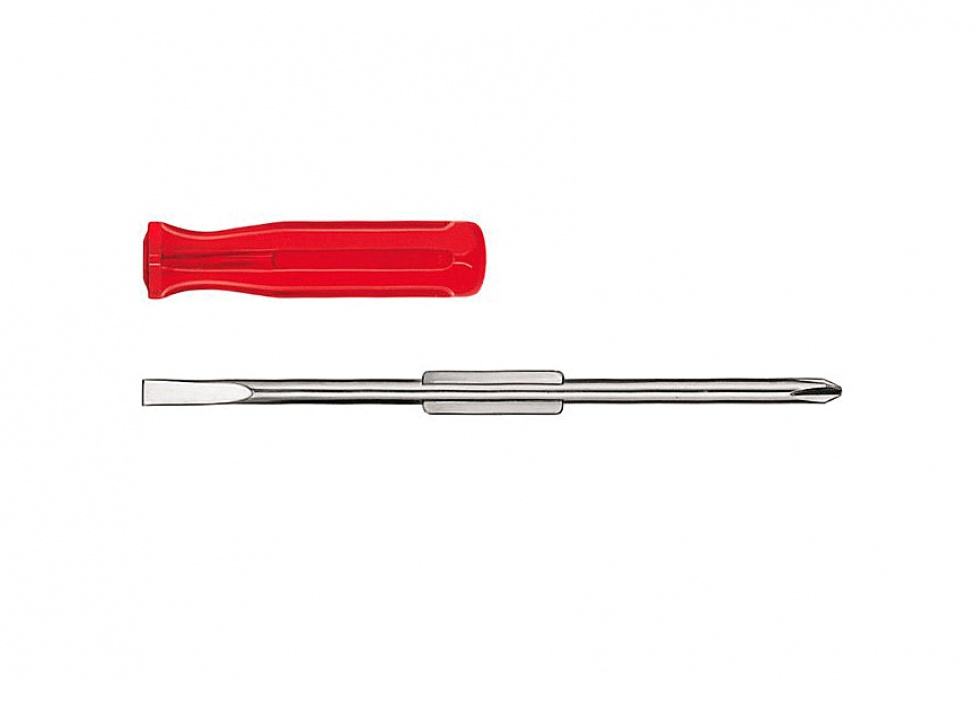
In the middle of the metal rod, slots for fixing in the handle
It’s just that different switches have different bolts - both with a Phillips screwdriver and with a slotted screwdriver. And since the heads of such screws are initially hidden, it is not known in advance what type of groove is.
- Suppose we have an old Soviet-style device. Initially, we unscrew the bolt with which the front panel of such a switch is attached to its base.
- Next, remove this cover. All the insides are revealed to us: one, two or three keys, as well as the mechanism itself. But this applies to old, Soviet appliances. In modern devices, you must first "squeeze" the keys with a flat screwdriver and remove them.
Be careful
And then you also need to carefully remove the front panel, helping with a screwdriver on the side.
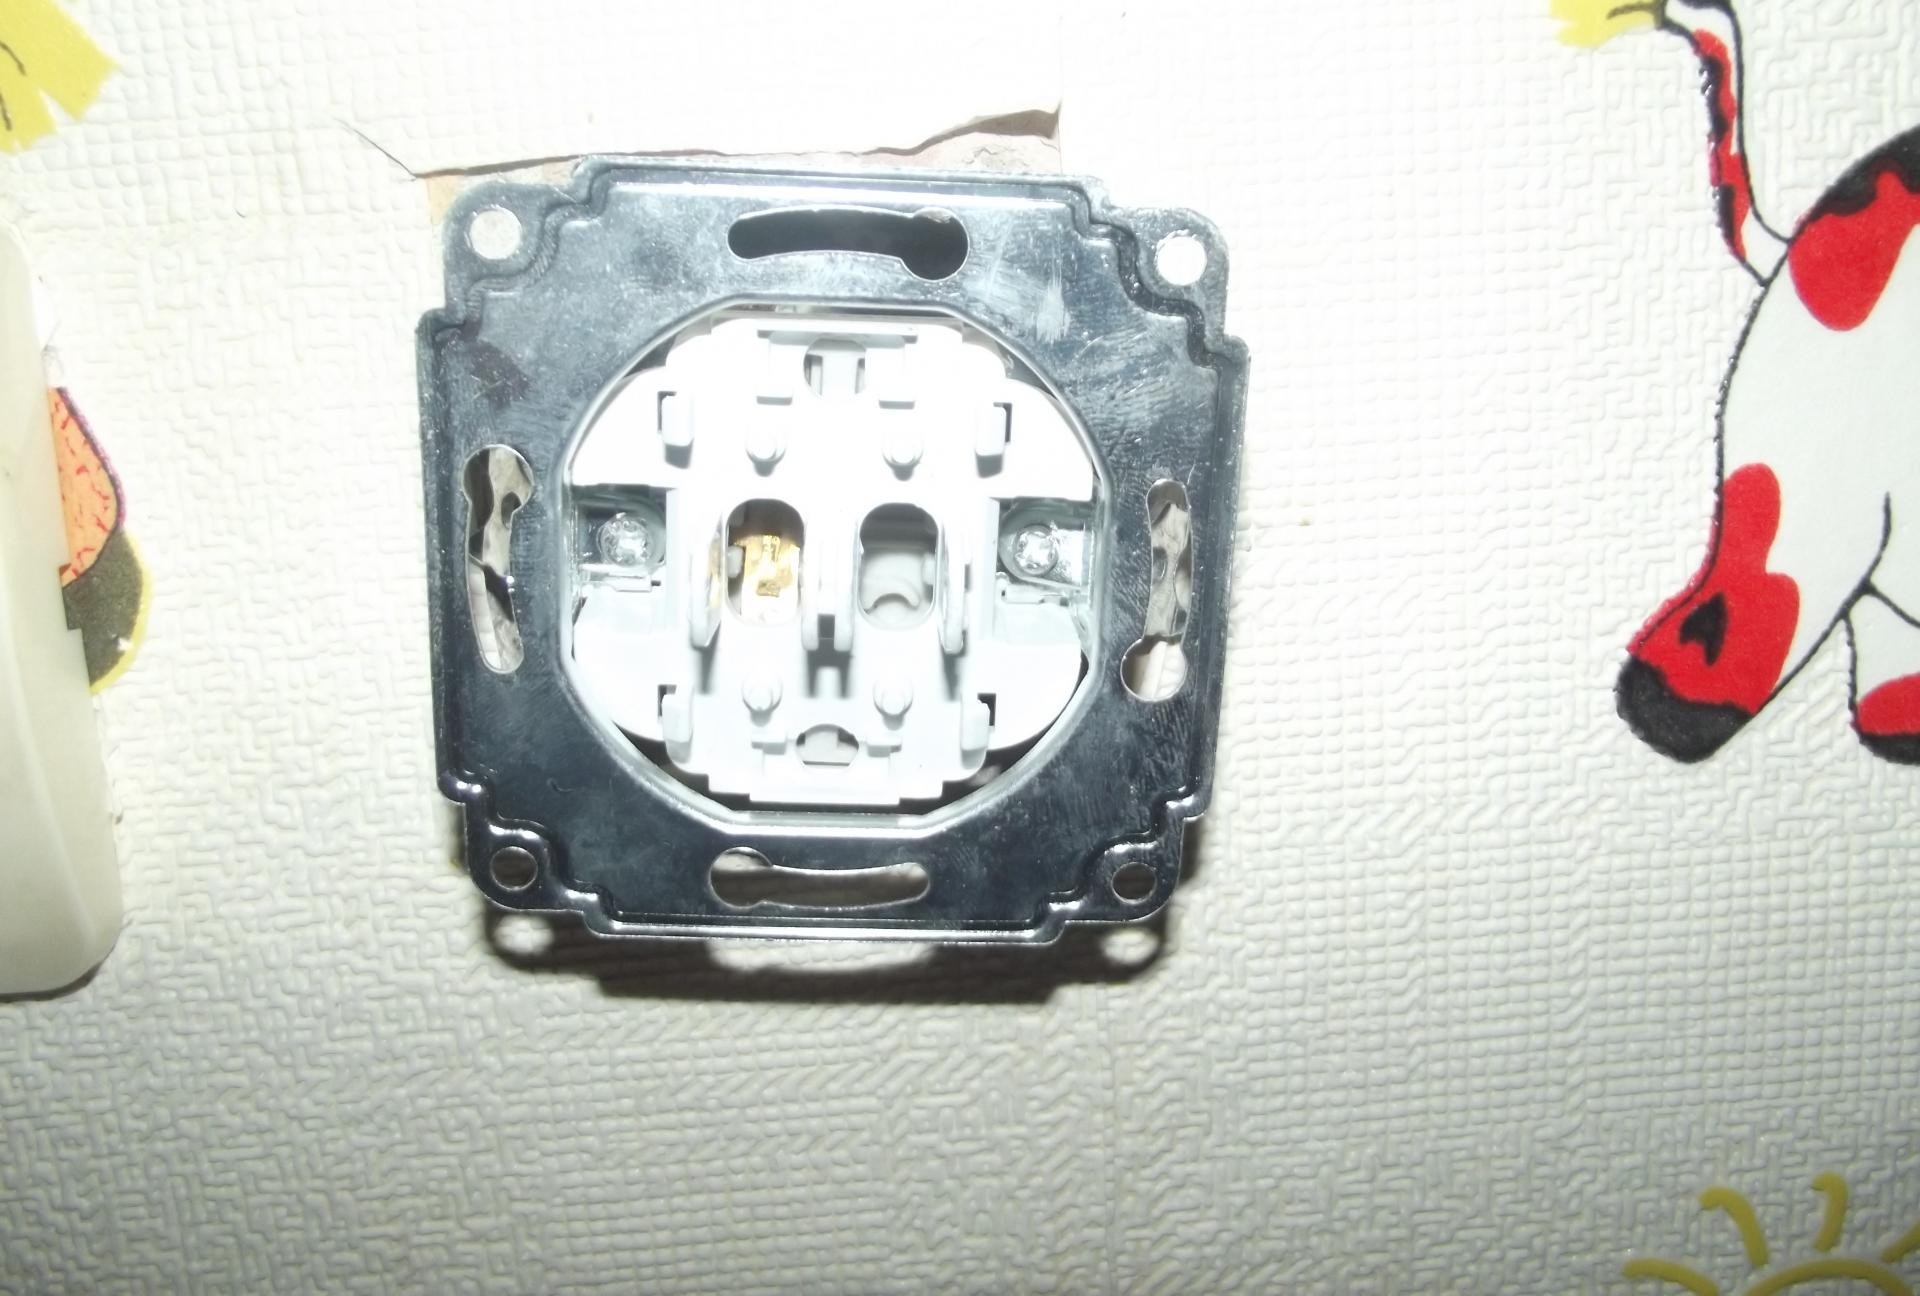
- Finally, it is necessary to remove the inside of the device from the socket. For all types of circuit breakers, this step is the same.There are two bolts on the sides, they attract the antennae, which presses the device to the walls of the socket. These screws also need to be loosened.

Take fingers from the sides
- We pull the inside out, but without effort, without jerking. Now we can see the electric wires that are connected to our device.
- In many switches, the ends of the wiring are connected to the device itself through screw contacts. Weaken these nodes with a screwdriver and carefully pull out the wires.

The contact bolts are on the back
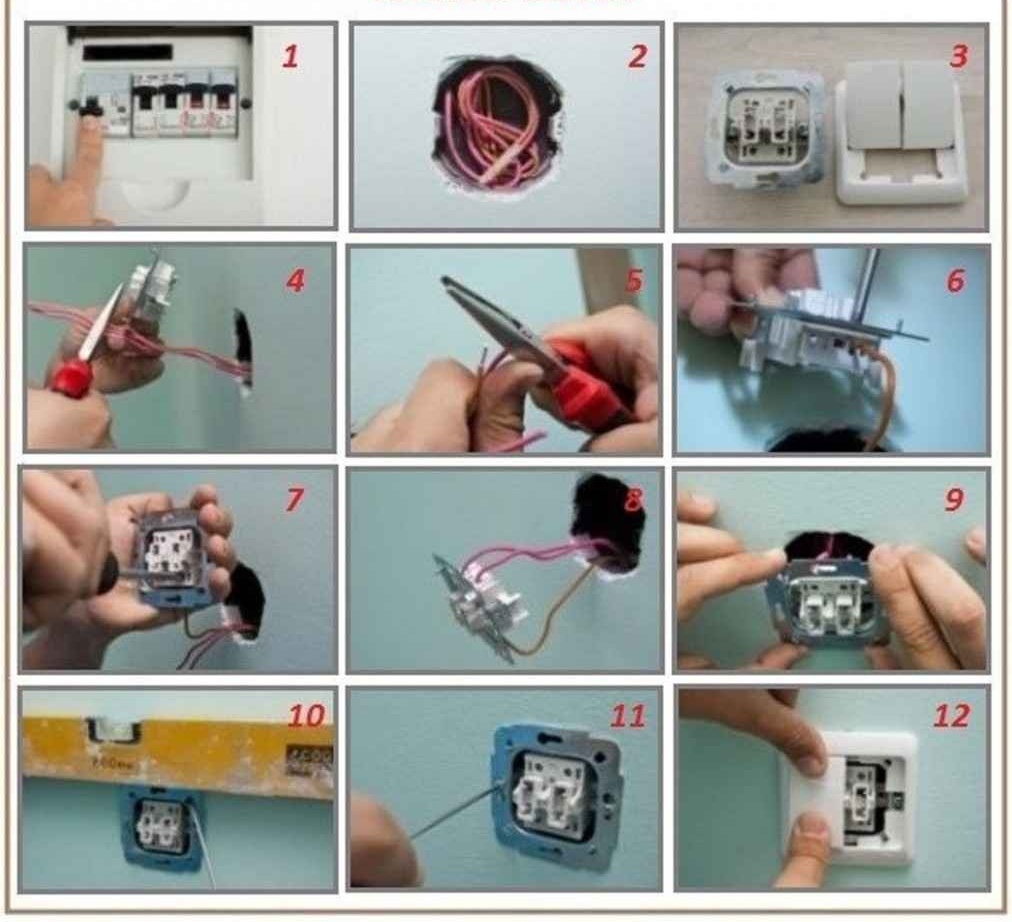
Attention! Before making manipulations directly with the wires, it is necessary to disconnect the machine that supplies this electrical network in order to avoid electric shock! Typically, the machine is located in the dashboard at the entrance, often it is designed specifically for lighting and is among other similar ones. Although in the "Khrushchev" he, as a rule, is alone in the whole apartment - both in the light and in outlets.
Installation of a new device
For this operation, you also need to prepare a screwdriver with a replaceable tip or probe.
- Pre-disconnect the machine in the shield.
- We are preparing a new switch. To do this, we snap off the keys with a screwdriver and remove them. Then we unscrew the screw (if any) and remove the front panel.
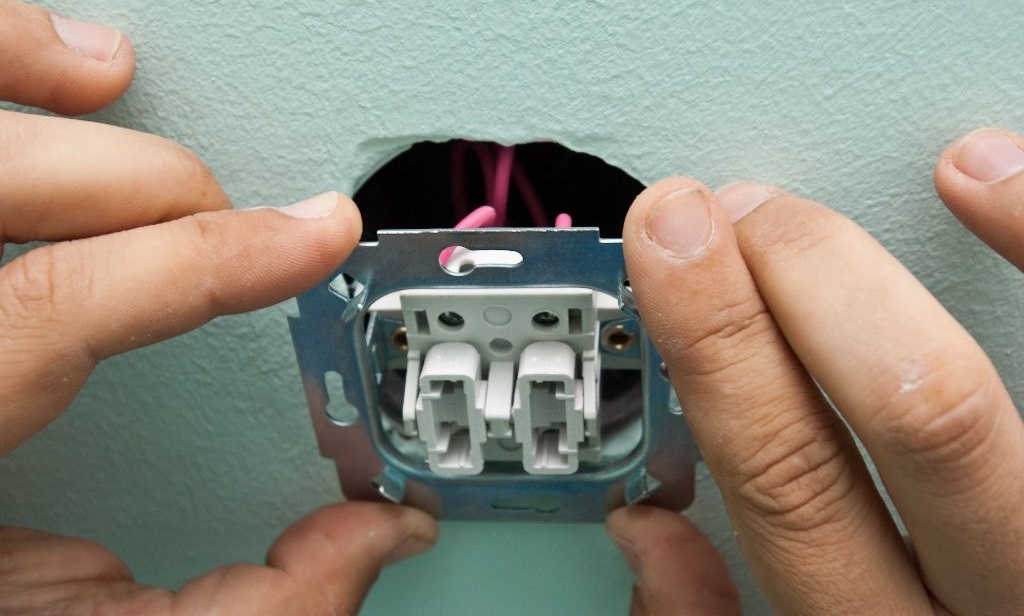
- Before us is the inside of our newly acquired device. We insert the freed stripped ends of the wires into it and tighten the contacts with a screwdriver.
- We sink the mechanism in an old glass, level it with a level or horizontally attached water bottle.
- Then we screw in the bolts all the way, which press the fixing antennae to the walls of the socket.
- We install the front panel, if necessary, tighten the fastening screw.
- Carefully insert the keys.
We start by turning off the machine
The switch can be used.
In some of the modern instruments described, the ends of the wires are fixed without screw connections, simply inserted into special holes and fixed automatically. Reverse wiring is removed by pressing a finger on the special spin.
The described installation work for the new device must always be carried out with the power off.
How to transfer - instructions
Suppose we are facing a different kind of task - for some reason, you need to change the location of the device that activates the lighting in the room. Then, first of all, you need to think about the fact that in addition to a screwdriver, you will need some more tools.
First of all, this concerns the wiring hidden in the wall. Moving the switch here involves chiselling the channel for the cable and drilling a new socket for the device. Therefore, you will additionally need a puncher with a channel blade, as well as a concrete crown for a punch. You will need a new cable, a two-wire cable with a cross-section of 1.5 mm, as well as a clerical knife to remove insulation. Well, in the end, putty is useful for sealing the channel. Let's make a list:
- punch with a spatula and a crown,
- cable 2x1.5 mm (footage depending on the length of the transfer),
- stationery knife,
- putty and trowel for putty.
Having prepared everything you need, we begin the process.
- We remove the switch according to the previously described algorithm.
- We mark a new place that was planned for our device, and also draw a cable line along the shortest path. For these purposes we use a simple pencil.
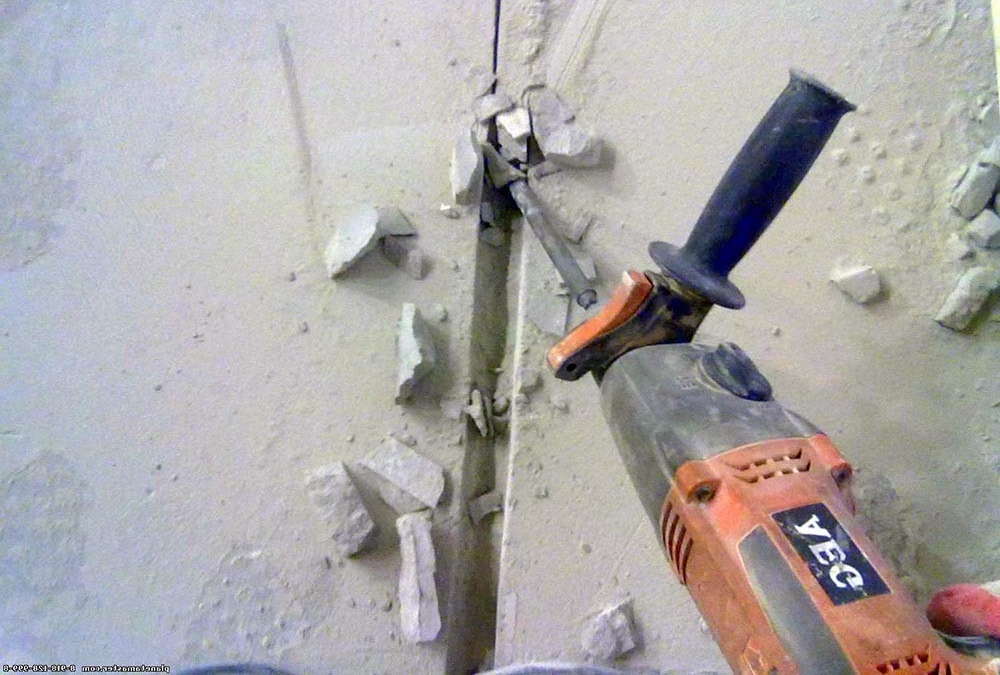
- We punch the wire channel for the puncher.

Do not forget to wear glasses and a mask
- We drill a socket for the switch.
- We take out the glass under our device from the old place and insert it into a new one.
- We connect a new cable to the released ends of the old wires, while the machine must be turned off.
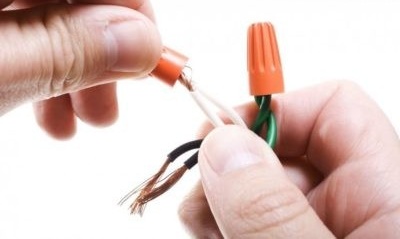
Places of twisted joints are insulated with caps or electrical tape
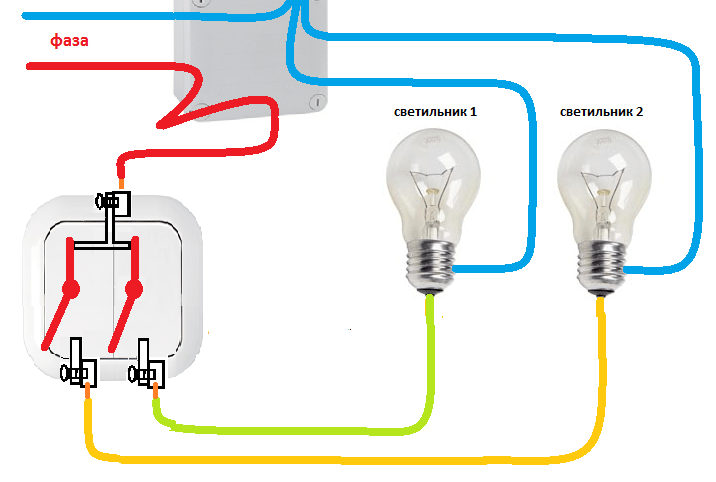
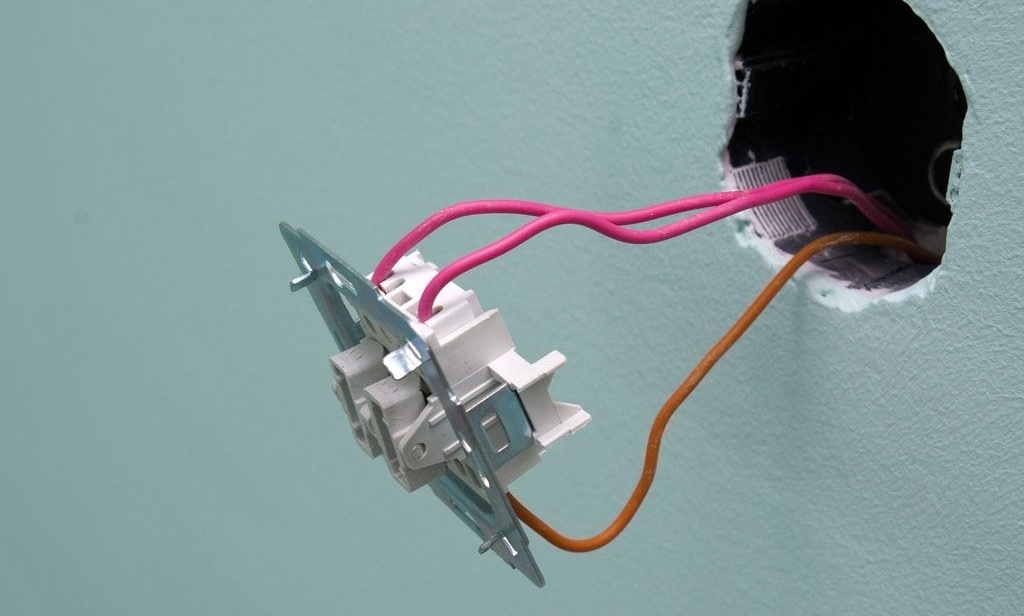
Here it is necessary to take into account that one supply phase wire from the shield always comes to the switch, and the same goes to the lamps.Therefore, it is necessary to connect a brown wire to the power line, and blue to the line of fixtures, so as not to get confused.
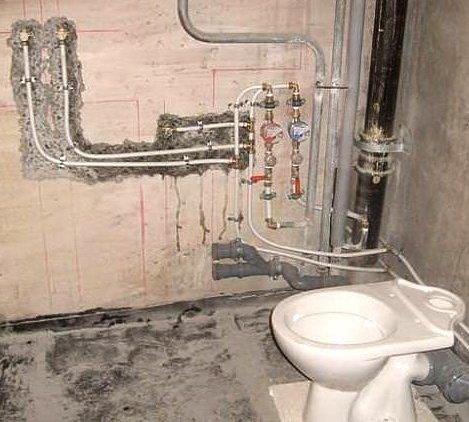
- We lay the cable in the done channel. Putty putty.
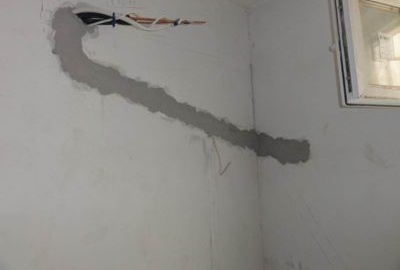
This is what the closed channel looks like
- We install the switch according to the previously described algorithm.


When connecting the device in a new place, we use the brown wire as the lead-in wire, and the blue wire as the lead-out wire.
In the case of open wiring, everything is much simpler: after disconnecting the power supply, the switch is unscrewed from the wall, disconnected from the cable and attached in another place. Then spend the missing veins. The cable is usually hidden in a decorative box. At the end of the process, the wires are connected to the switch.
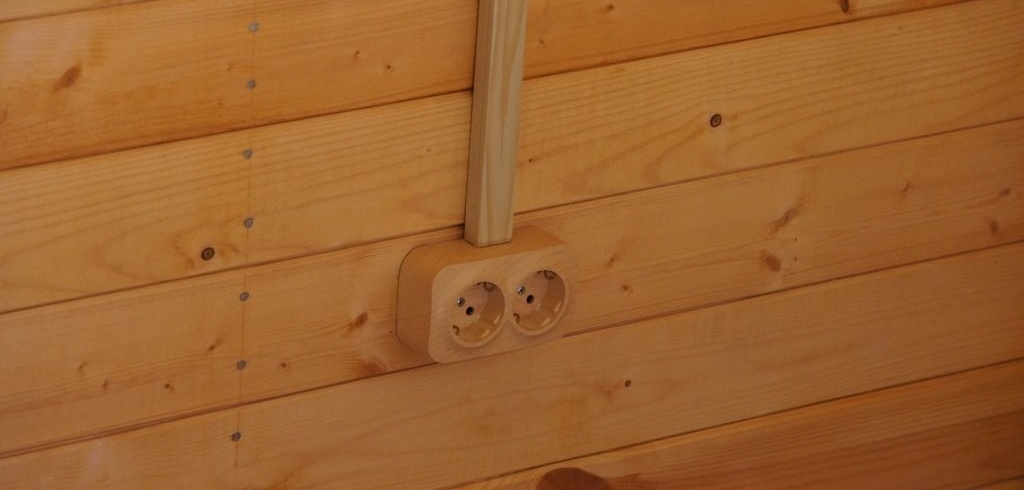
The box is selected according to the color of the wall
Circuit breaker repair
Much more often than a transfer, there are situations when you just need to fix the described device. In order to repair the circuit breaker, you must prepare all the accessories that are useful in the work.
What tools and materials will be required
- Replaceable tip screwdriver.
- Indicator.
- A piece of fine sandpaper.
These tools are suitable for all types of repairs.
How to disassemble
It has already been described that when removing the device, its keys are first removed. Then the front panel is removed. When the device is removed from the socket, it is released from the wires.
Keys get easy
After the mechanism is thus disassembled and simultaneously removed, it must be put in front of you on the table and examined. Usually dirty contacts that are in the place where there were plastic keys. From frequent inclusions, these surfaces are also covered with soot.
It is not difficult to determine the nature of such a malfunction. It is possible to understand that contact cleaning is necessary before disassembling the device. If the device does not always work when the keys are turned on, then the appearance of soot in the appropriate places is quite obvious.
Contact cleaning
It is not always possible to produce this process. Most modern switches have a non-separable mechanism housing and it is not possible to get to the contact. In such cases, it is easier to purchase a new switch, especially since it is inexpensive: about 50 rubles.
Here the case is non-separable
If, when considering the device, it became clear that it is possible to reach the point of contact of the switching on contacts with a screwdriver sting, then we make the following. For this operation, take a piece of sandpaper and wrap it on the tip of a small thin screwdriver. Putting the tool under the key, wipe the copper contact with emery cloth.
Even if there is no skin, you can clean the copper contact surface with a screwdriver, making the tool translational movements. A sharp sting will easily remove dirt and soot.
Other possible breakdowns and solutions
Often there is still such a common malfunction as loosening the clamp of the end of the wire. This is easily diagnosed by the behavior of the switch. It completely ceases to fulfill its function, although at the same time the keys move and click, as usual.
It is enough to remove the device outward (after unscrewing the buttons and the front panel), and then simply pull out the screws associated with the contacts of the wires with a screwdriver. This operation must be performed when the linear power supply is turned off! When tightening the screw with your free hand, slightly push the wire into the mechanism.
Sometimes such a malfunction also happens: one of the keys stops clicking. When exposed to fingers, an unusual “relaxation” is felt. The breakdown of the mechanism is obvious here. In this case, the switch must be completely replaced. In such devices, repair of the mechanism under the key is practically impossible, and even impractical.
How to assemble
To assemble the device, we simply install the mechanism with well-fixed wire contacts back to the socket.Then we insert the front plastic panel. Finally we put on the keys. The switch is ready. Now you can activate the machine in the shield and verify the correct operation of our unit.
In this type of switch there is an additional spare part - insert
If no manipulations have led to the desired effect, then it is better to go to the store and purchase a new switch. And then replace the broken one, following the instructions described.
Video: how to replace a switch
Since the described devices during operation during the “lapping” experience some short-term load, their durability depends mainly on the number of inclusions. The more often they use the device, the faster it crashes. However, one more rule works here: circuit breakers of well-known, well-established brands last, as a rule, a little longer than the cheapest ones. You need to remember this.
So, starting to replace the unit, study the instructions and feel free to start work!