What to do if you need a hood for the kitchen

A stove, especially a gas stove, is a source of pollution and pungent odors. Therefore, often the owners decide to install a hood over it. Many people want to do this on their own, thinking that it is cheaper and easier. But during installation, they have to face a lot of problems, which are still possible to solve.
Content
Why do you need a hood in the kitchen
When cooking, especially during frying, a lot of heat and pungent odors are released. There is steam, and smoke comes from the gas. From this, the ceiling is smoked, the kitchen wall or the apron of the headset deteriorates. That is why the hood, which is a forced ventilation device, is necessary in this room.
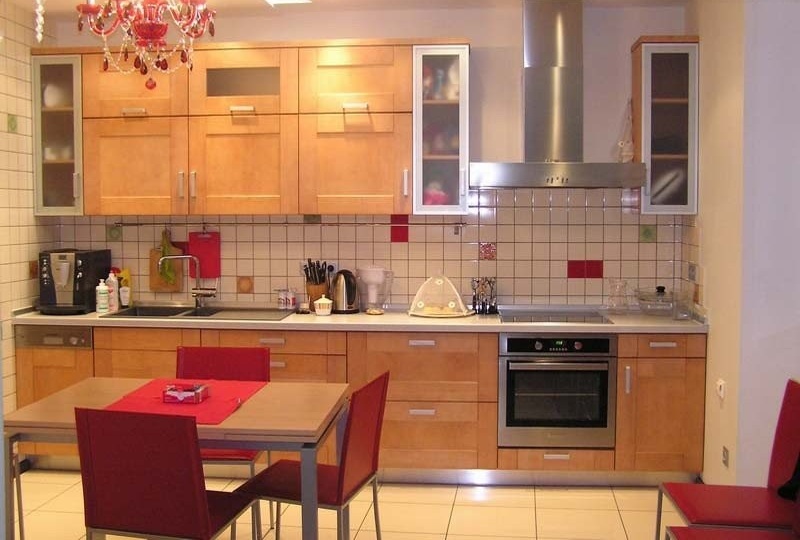
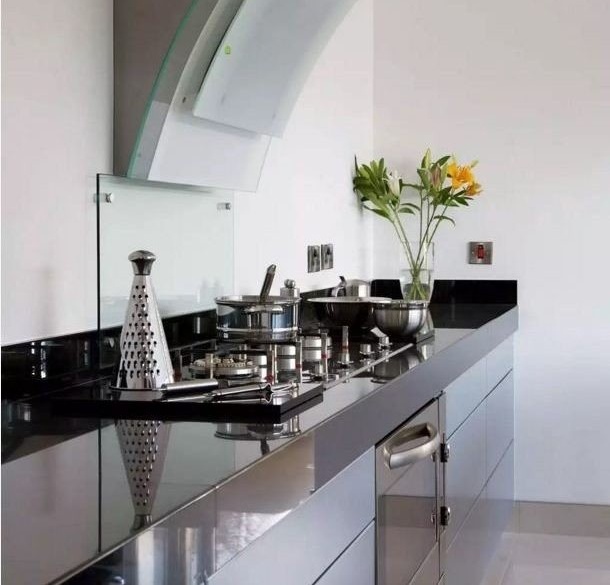
The hood can be perfectly fitted into any interior.
Its main advantages:
- it eliminates pungent odors;
- quickly removes steam and smoke directly into the common house pipe;
- provides absence of traces from the increased humidity, and also other various deposits on walls and a ceiling.
Disadvantages are found only in certain types of ventilation units, for example, a cheap hood may be too noisy. But it’s easy to put up with it.
Calculation of hoods for the kitchen
But before choosing the type of exhaust system suitable for these conditions, it is necessary to make an approximate calculation of the volumes of contaminated air removal.
The calculations are made primarily based on the size of the kitchen. Calculation of the electrical part is already carried out according to the existing hood model.
Suppose the dimensions of the kitchen are 3 mx 4 m. Thus, the area of the room in our example is S = 12 m2. If the height of the walls is 2.5 m, then the volume of the kitchen will be V = 12 x 2.5 = 30 m3.
The hood performance (how many cubic meters per hour) is calculated as the product of the dimensions of the room by the coefficient K. For electric stoves, K is approximately equal to 12 units, and for gas stoves - 20. It indicates the number of complete air replacements in the entire room per hour.
In our case, we will use a gas stove. We get the following hood performance: P = 30 x 20 = 600 cubic meters per hour.
For an aggregate with a similar value, as practice shows, a fan with a capacity of not more than 1 kW is required. When calculating the wiring, we will take this characteristic into account.
For a power of 1 kW, according to standard standards for the design of electrical conductors, a wire cross section of 2.5 mm is sufficient2. This parameter is used in lines in apartments. Therefore, any nearest outlet in the kitchen is suitable for installation.
The cross-sectional area of the ducts is adopted according to the following rules:
- It should be no less than the exhaust outlet.
- The cross section of the duct should not be larger than the opening area of the common house channel.
When installing the ventilation pipeline, one more golden rule must be remembered: the fewer the bends of the line, the better the performance.
Grounding for the hood is not required.
Often in new buildings in the kitchen, a special two-wire wire is already displayed specifically for the hood. Usually in the apartment of a newly-built house, this cable sticks out of the wall right under the opening of the ventilation duct at a height of about a meter above the assumed surface of the plate.
After calculations, it is necessary to choose the type of hood.
Installation steps and types of cooker hoods
All forced ventilation units for the kitchen are divided into two main classes.
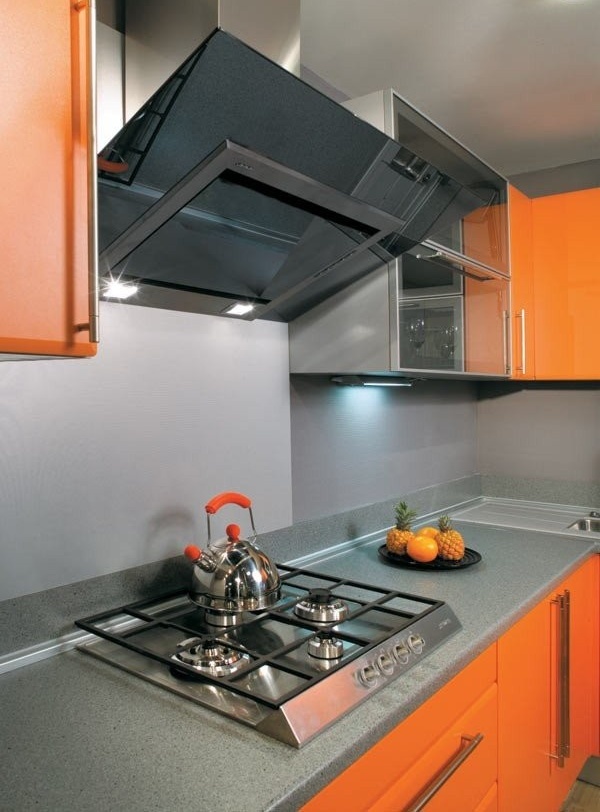
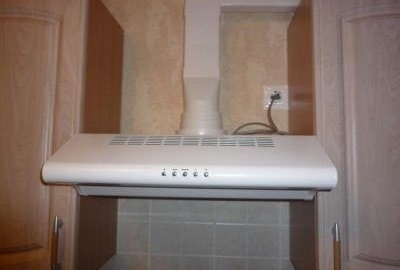
- Open hoods, fully visible.

An open range hood is installed between the cabinets.
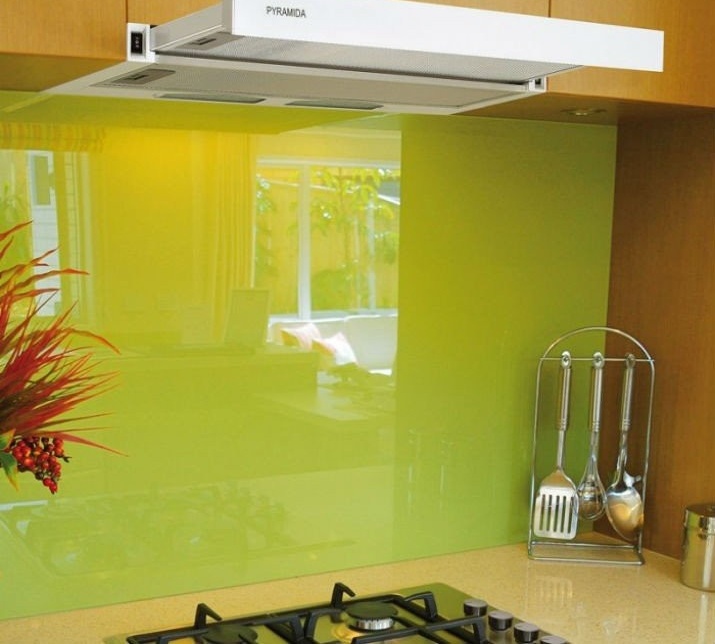
- Built-in closet, half-hidden.

With the built-in hoods, only the lower part is visible
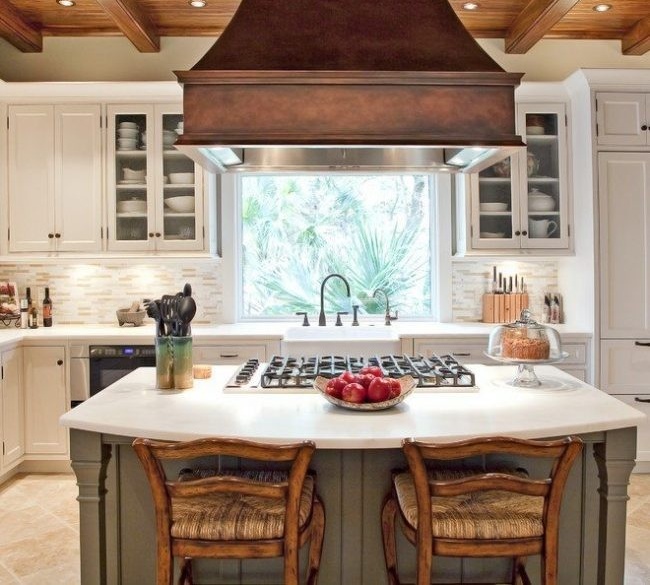
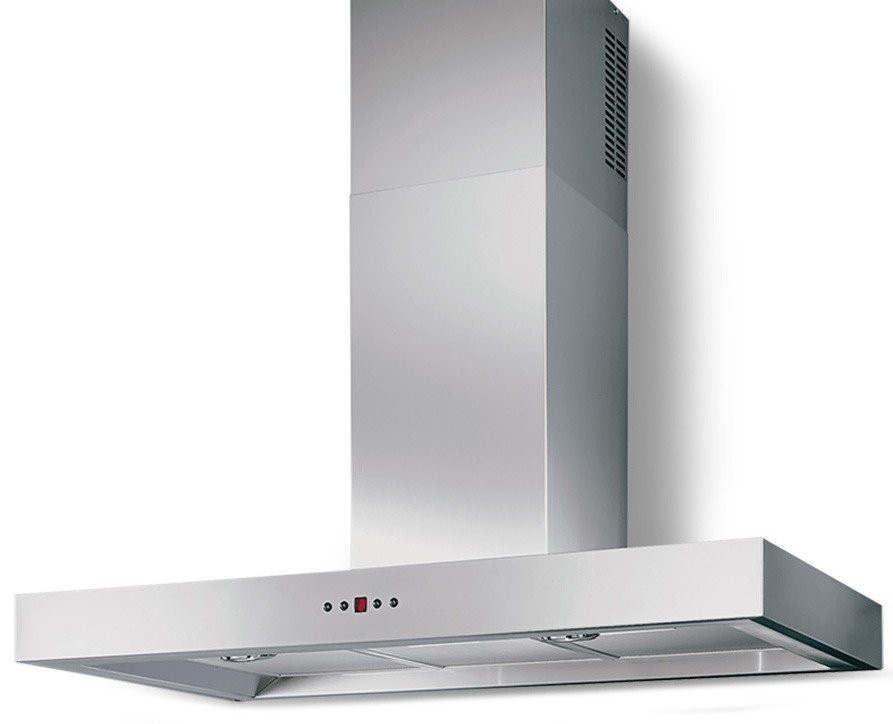
Also among open devices there is a classification by location. Such hoods can be island or wall, and the latter can be angled.
Depending on the control method, the classification is as follows:
- remote (with remote control);
- push-button or touch.
Photo gallery: different types of cooker hoods
-
- Island hood hanging separately from the headset
-
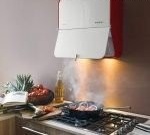
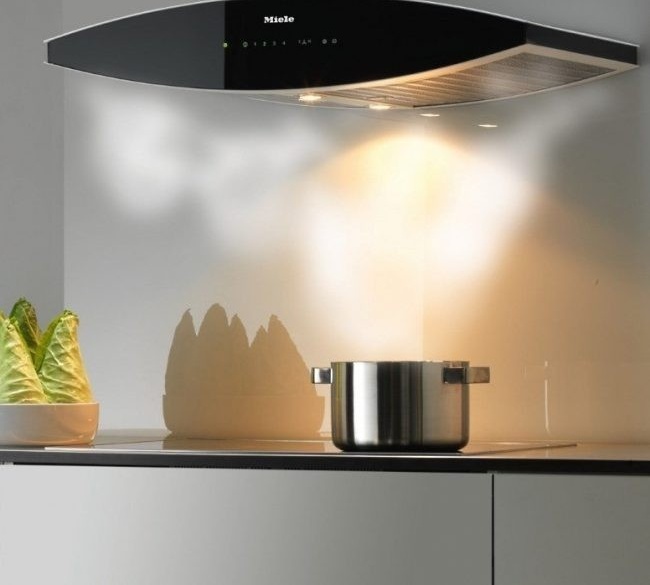
- Wall-mounted hood mounted to a vertical surface
-
- Recirculation hood does not have a ventilation duct

-

- Some hoods can be controlled remotely
How to install a cooker hood do it yourself
It is actually not difficult to make the installation of the hood over the stove if there are minimal skills for metalwork and repair work. You need to start with the electrical part.
Electrical connection
An ordinary outlet is suitable for connection. But if there are no supply points near the installation site, then you need to proceed as follows.
It is necessary to bring an electric cable to the marking for the hood, simultaneously hiding it in the wall. You need to do this in the following sequence:
- First find the nearest junction box. From it to the planned installation site of the hood, make a channel by means of a hammering with a perforator and a special blade.
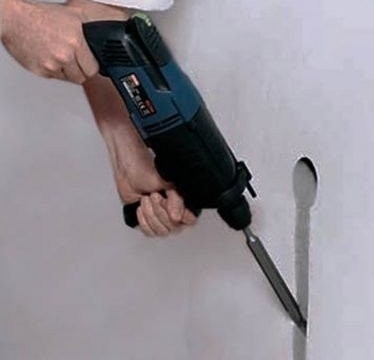
It is very important to hold the tool correctly during chipping.
- Route the new cable into the cavity.
- Turn off the power switch.
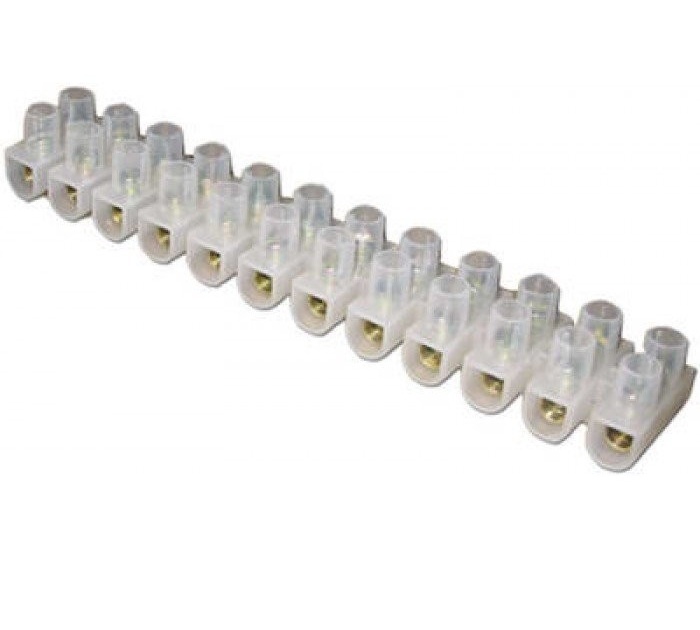
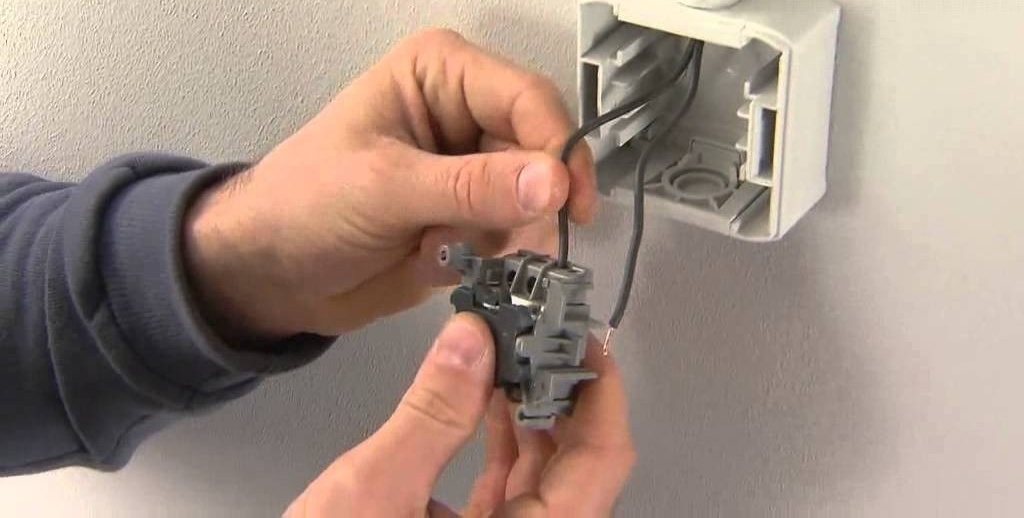
- Gently prying with a screwdriver, remove the round cover of the junction box. Inside this cavity is the wiring. Determine the "phase" using a screwdriver-tester, in the neighborhood will be "zero". It is to these pins that connect a new cable, for example, using a terminal block.
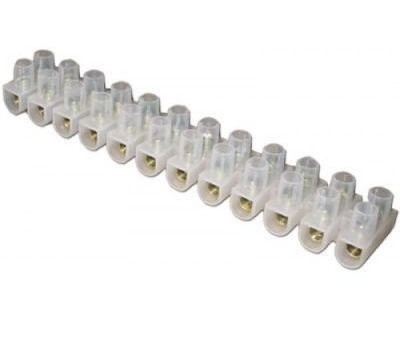
The required part is broken off from the set of terminal blocks by the number of wires
- Install a patch outlet for the hood and insert the bare ends of the cable into its contacts, secure them.
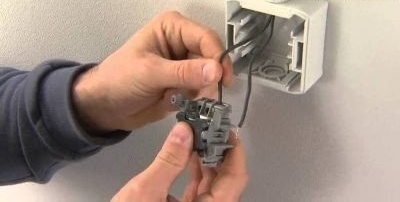
Work with electrical appliances only when the power is off
- Assemble the outlet. Now you can turn on the power switch.

Grounding for ventilation is usually not used.
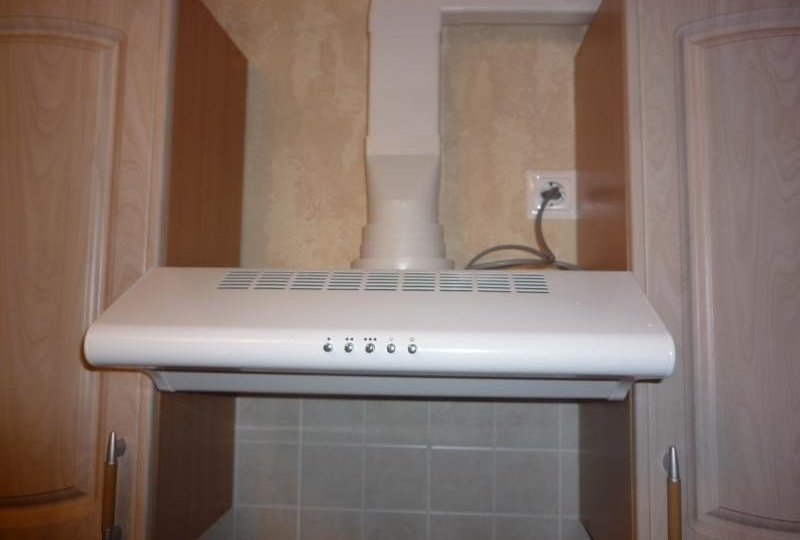
How and at what height to install the hood
Usually, a forced ventilation device is placed above the stove directly on the wall. Most often, two pivot points are sufficient. As a rule, the installation and operation manual is attached to the purchased hood.
The optimal height above the gas stove is about 80 cm (70 cm above the electric stove). It is necessary to retreat this value from the plate and draw a horizontal line with a pencil. Here is the bottom surface of the hood. Based on it, you can mark the holes for the suspension.
It is enough to measure the distance from the bottom wall of the device to the marks for fasteners to a vertical plane with a tape measure. The same values should be noted already on the wall.
Then drill holes, hammer in plastic dowels, screw in the screws and hang the device body on them.
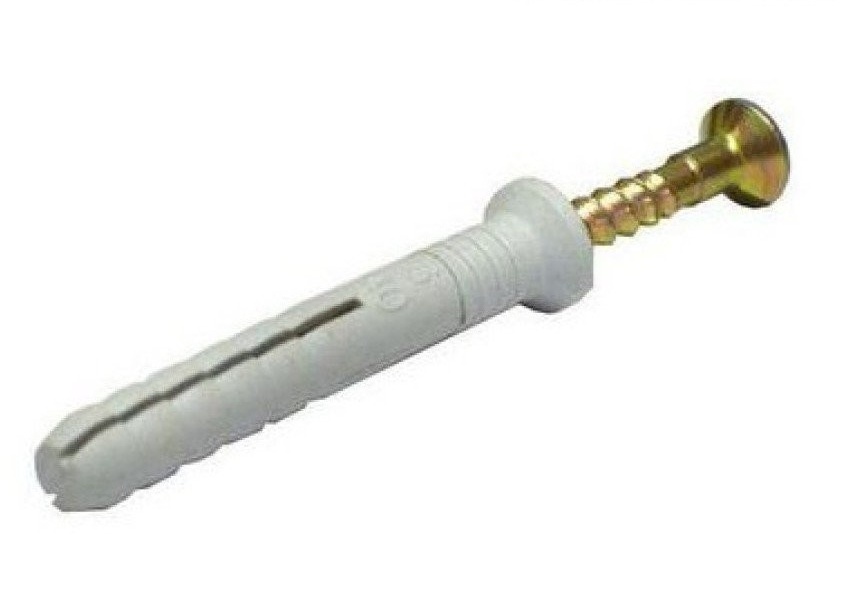
The self-tapping screw bursts the expansion bolt shield in a wall
Mounting the integrated hood
The process of securing such a product is simple. The case is screwed with screws to the top wall of the wall cabinet in four places. When the door closes, it will remain invisible.
But such devices at the bottom necessarily have a flat panel with filters. She should just be in sight. Most often, it has a retractable part and a backlight.
The marking for fixing the body is made according to the template, which must necessarily lie in the set of documents for this hood. Check its availability upon purchase.
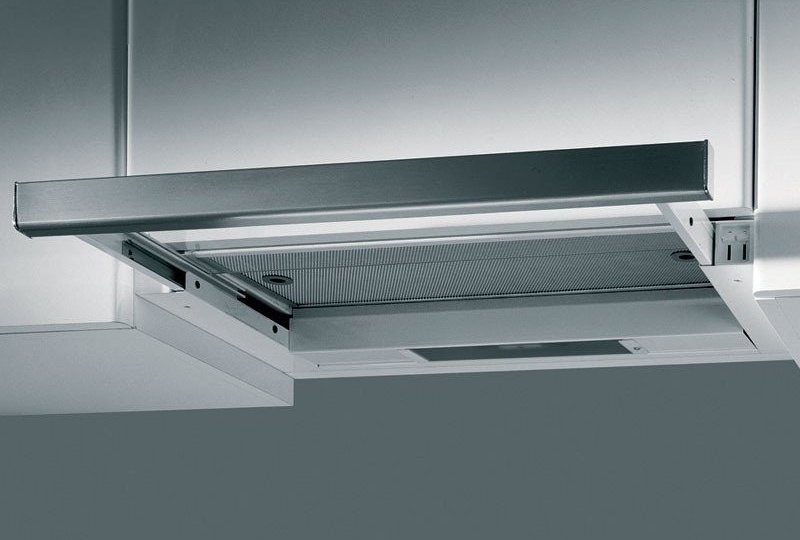
Built-in exhaust filter changes from below
The choice of the duct for the hood and its installation
Without connecting to the common house channel, the operation of the hood is pointless. Although, if the device is supplemented with a special carbon filter (some models that have a recirculation function provide for its internal installation), then for some time you can live like that. But the constant replacement of carbon filters will inevitably lead to additional costs, so it’s better to still have a hood that allows the installation of an air duct.
There are three options for manufacturing a ventilation duct from standard parts:
- from corrugated soft foil pipe;
- from plastic channels of rectangular cross section;
- from PVC pipes.
Corrugation is easy to install, but it looks unaesthetic.
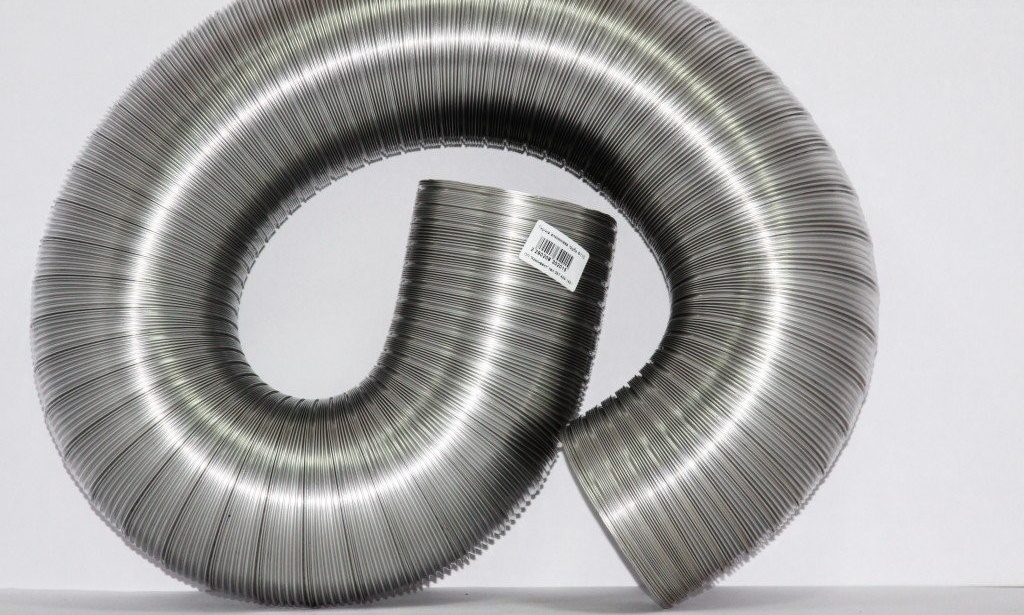
Corrugated pipe can easily bend and stretch
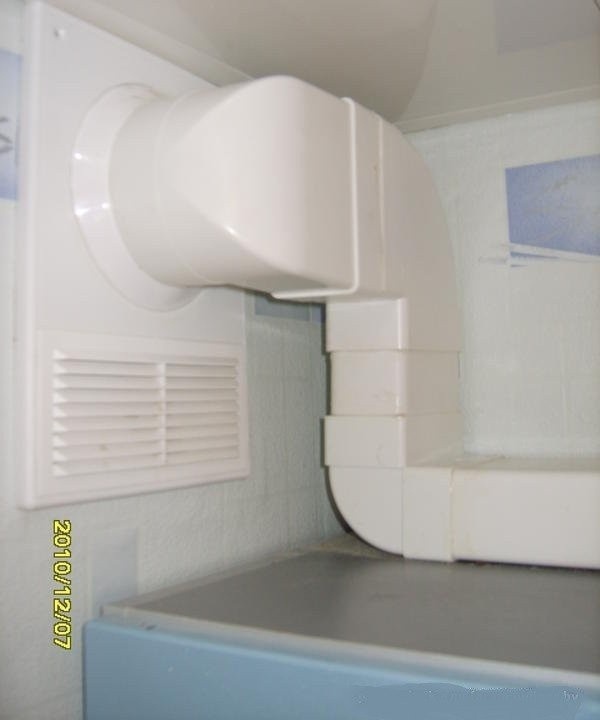
Most often they use rectangular ducts to install the duct, since they have a large number of advantages:
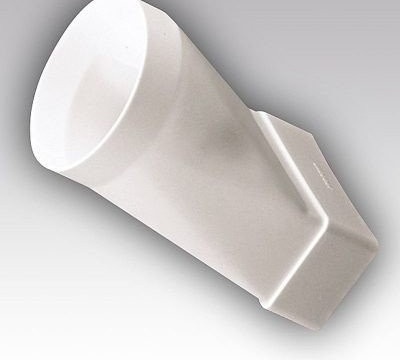
- They can easily be cut (to shorten) with a file.
- They are quite aesthetic, able to fit into any kitchen interior.
- There are a large number of different convenient transition elements - angular, curly and others.
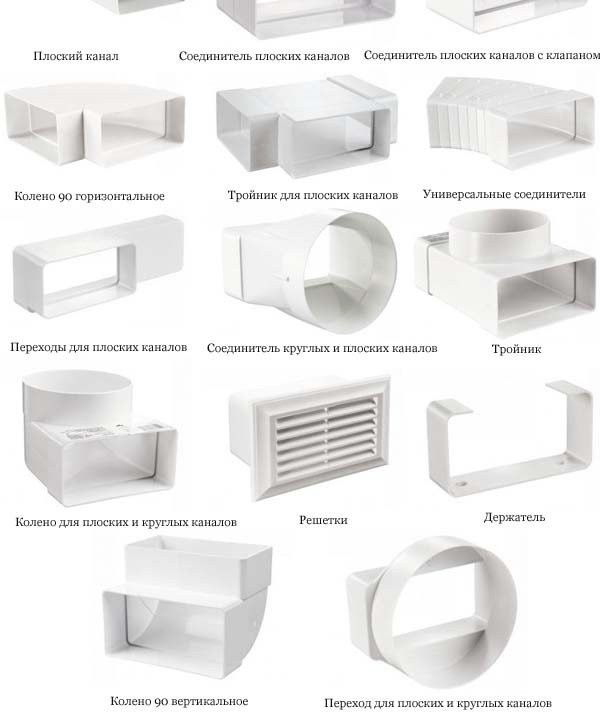
Square square plastic pipes are used quite often.
Finally, plastic pipes. They are somewhat inferior to rectangular channels in the diversity of transition elements.

Plastic pipes take up a lot of space
How to install ductwork
Installation of the duct involves preparatory work:
- First you need to measure the distance from the exhaust outlet to the openings of the common house channel. It is also necessary to take into account all the turns of the planned line.
- Then make a list of items to be purchased.
Suppose that the distance from the plane of the hood opening to the level of the lower grid line of the common house channel is 1 meter. In this case, a turn to the left is necessary, after which there is still another 50 cm to the ventilation shaft of the house. So you need:
- rectangular channel 1 m;
- a channel with a diameter of 0.5 m;
- right angle knee;
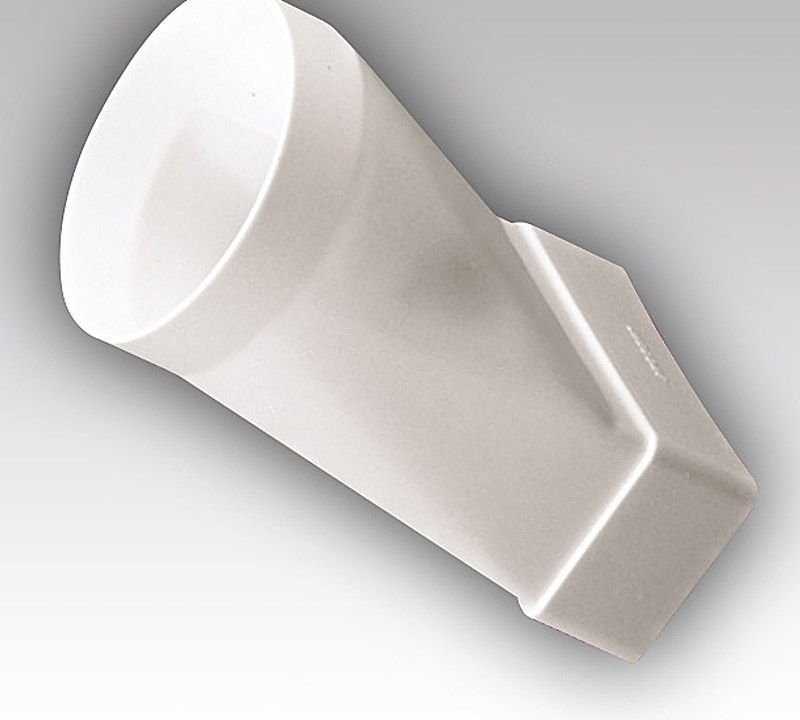
- an adapter from the hood to the rectangular channel;
- adapter for the lattice of the mine shaft at a right angle.
It is very important to measure the diameter of the exhaust outlet and the ventilation duct parameter in the kitchen wall. The parameters of the adapters depend on this. They must sit tightly on the appropriate parts so that the blown air does not have the ability to seep in the joints.
Installation of the duct is carried out in the following sequence:
- First you need to install the adapter on the top outlet of the hood. Check for leaks in the joint by attempting to loosen the part. The output diameter can be from 100 mm to 150 mm, for each size you can choose the appropriate adapter in the store.
The main function is the transition from a circle to a rectangle.
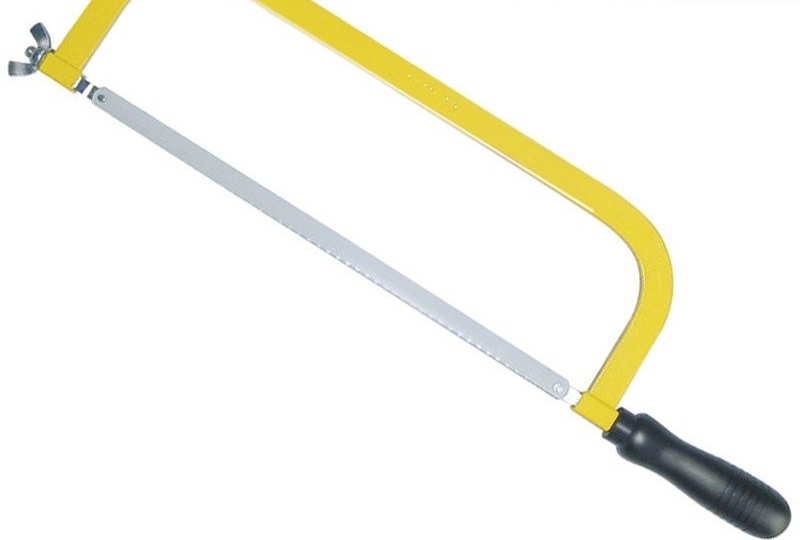
- Next, substitute a rectangular channel on the side and mark with a pencil the cut line along the bottom of the ventilation duct, since the pipe will have to be slightly shortened.Cut off the unnecessary part with a metal tool. You can also use a jigsaw.
Metal file easily cuts pipe material
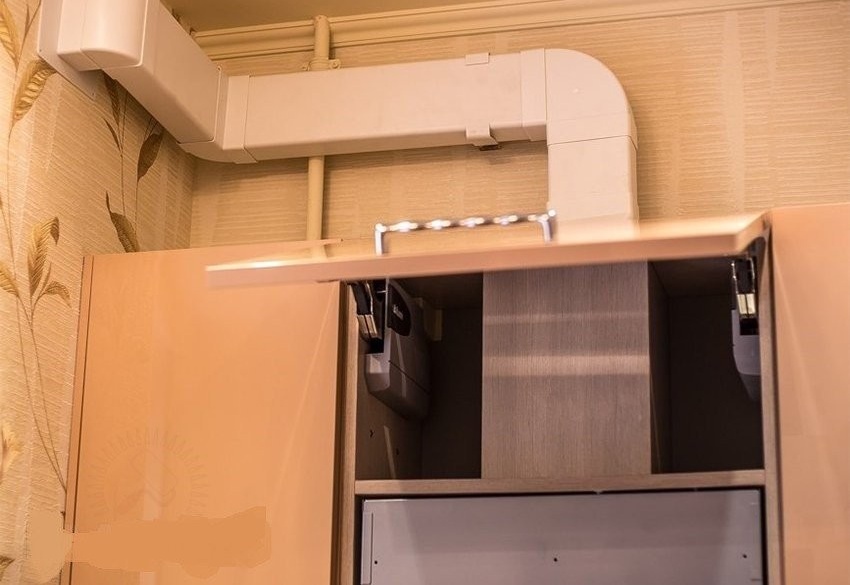
- Next, insert a rectangular channel into the adapter, and install a bend on top to rotate the duct. These parts are easily connected to each other due to the fact that they have extension links at the ends. It is enough to press a little hand on top of the inserted part, and it will go into the hole of another element. It is not necessary to lubricate the joints with sealant.
- Insert the last channel, and from the other end drive the adapter for the grill into the kitchen wall.
An efficient and pleasant looking duct can be made from a square plastic pipe
- Check the effectiveness of the hood, for which it is turned on and the hand is put on the joints. Air must not leak.
The applied rectangular channels stand well in place without being attached to the wall. But for fidelity, you can install at least one fixture.
Long pipe sections can be fixed to the wall
Usually in apartments there is no ventilation grill. In this case, it is necessary to pick it up when buying parts. In addition to line cells, there must be a hole in it to secure the round end of the adapter.
The air duct is simply inserted into this part
On the wall, the grille is fixed with dowels and screws.
Together with the rectangular channels, you can use the standard corrugation made of aluminum foil. But at the same time, it should remain invisible. That is, in this case, the corrugation, as a part of the duct, is suitable for hidden areas, for example, above the headset in a place inaccessible to the eye.
If we talk about a conical hood, then it always has its own decorative duct in the form of a shiny metal duct. Inside such an element, the practical part is still set up - a corrugation for ventilation, which connects the top hole of the cone with the apartment ventilation duct.
The decorative box is built according to the telescopic principle. Its upper part is pushed out from the bottom and fixed in accordance with the attached installation instructions.
Inside the decorative box, you need to install a corrugated pipe
The disadvantage of such structures is that they can be used only when the opening of the kitchen ventilation duct is located strictly above the stove. If it is strongly laterally shifted, the installation of such a device will cause difficulties.
If there is an additional ventilation duct on the kitchen wall, then it can be closed with an ordinary grill without a hole. Let it serve simply for natural ventilation of the room.
Homemade gypsum board hood
Special attention should be paid to a self-made construction of gypsum plasterboard. In this case, there is no need to buy quite expensive parts. And the hood itself from the manufacturer has a high cost.
There is another plus for such designs: they can be made stylish, exclusive, fit perfectly into the interior.
Materials and tools
You must first sketch and calculate the surface area for the purchase of drywall. To do this, measure the place for installing the hood, draw it, and then draw up a sketch of the planned structure on paper.
The width of the home-made design is taken equal to or slightly larger than the corresponding parameter of the plate. The height is assigned constructively, depending on the location of the ventilation duct of the kitchen and the general design decision.
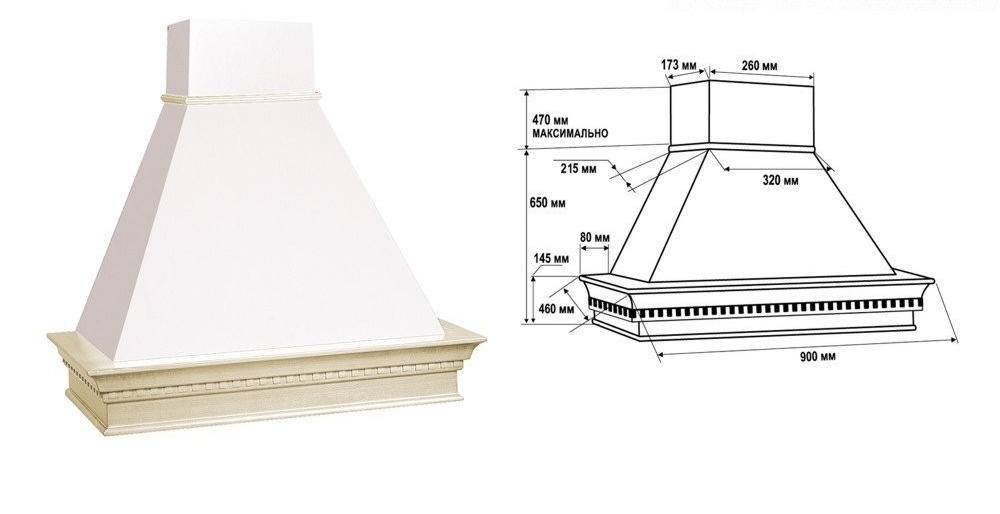
All hood sizes are indicated on the drawing.
The surface area is calculated as the sum of the products of the dimensions of each face. The amount of purchased material should be slightly larger than the estimated. Additionally, you need to purchase screws and metal profiles.
In addition, putty and primer are bought for surface finishing.
Tools required for work:
- Hammer drill.
- Screwdriver.
- Roulette.
- Level.
- Stationery knife.
- Putty knife.
- Roller.
Step-by-step instructions for manufacturing drywall extracts
When all the preparatory work is completed, you can go directly to the process:
- With a pencil on the wall, mark the places for attaching the profiles according to the sketch. Observe the standard hood height above the stove.
- Then install and screw the main (start) profile onto the wall (and, if necessary, the ceiling). First you need to drill holes and hammer in strong dowels or anchors.
- Next, attach vertical elements to the main profile with self-tapping screws.
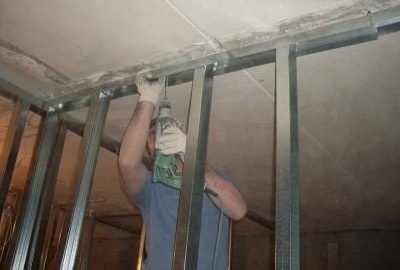
Fix profiles to the surface with self-tapping screws
- Attach the start profile and cross members from below. The result should be a frame duct duct.
- Next, make the cone of the hood itself. To do this, attach profiles that form stiffeners to the bottom of the frame of the box. Fix them horizontally at the bottom, observing the dimensions according to the sketch. For this, also use self-tapping screws.
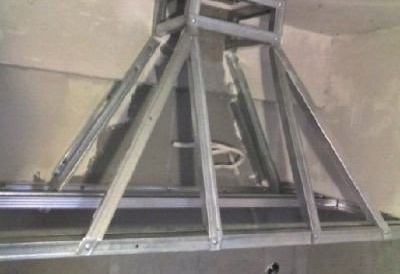
The construction should begin under the ceiling
- At this stage, you can optionally install a fan for forced air extraction, but even if you do not do this, the design will still be good at collecting air flow from the stove.
- Cut drywall into pieces of the required size and screw them to the frame.
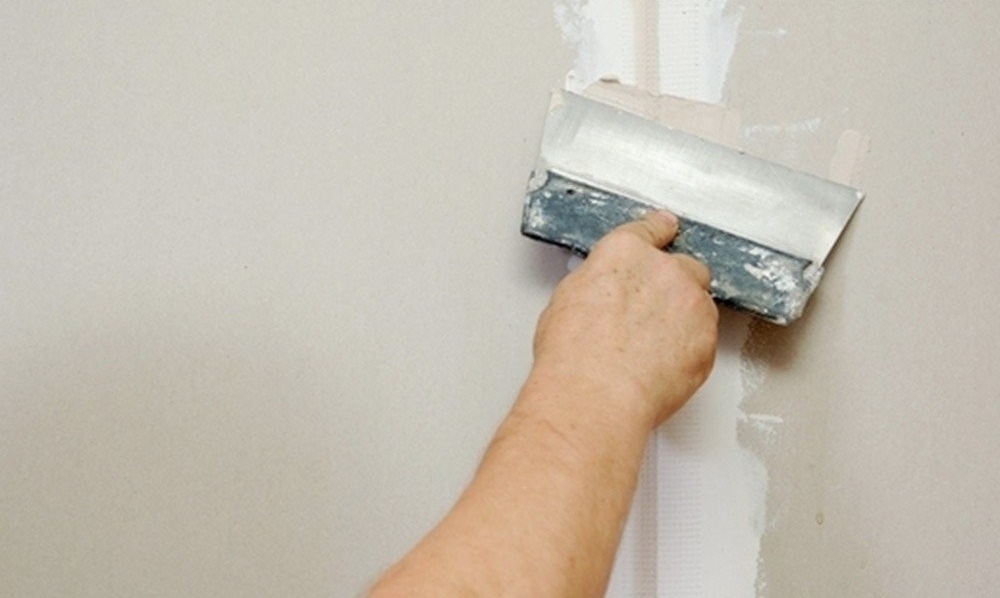
- All joints must be thoroughly puttied.
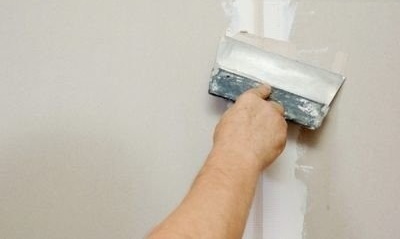
No special skills needed to putty the joints.
- The resulting hood must be coated with a primer.


Such a product provides natural ventilation of vapors from the stove.
By the way, to cut off a rectangular piece from drywall, it is enough to draw a knife along one side of the sheet with a knife along the marking line, and then break the workpiece in the opposite direction. The material will break evenly, it remains only to cut through a layer of paper. If you need a curly piece, then you have to use a file on drywall.
It remains to produce a decorative finish hood.
Making a case from various materials
In addition to drywall, other materials can be used to make hoods. For example, plywood or plastic panels. It all depends on the skills and capabilities of the owner.
The same plywood is easier to attach to the profiles. She does not crumble and does not get her hands dirty. It does not need to be primed and puttyed. And with the finish, you can simply paste wallpaper on it.
Profiles for her, however, are needed stronger. It is better to use metal corners with a steel thickness of 1.5 - 2 mm. You can take a stainless steel. The very process of manufacturing the body for the hood is the same as when using drywall.
Hood decorative trim
The decorative coating of the drywall surface may be different.
Usually, after priming, water-based paint is applied to the color of the kitchen set or wall. At the same time, the design is complemented by moldings or plinths made of polystyrene foam, and sometimes decorative wooden elements.
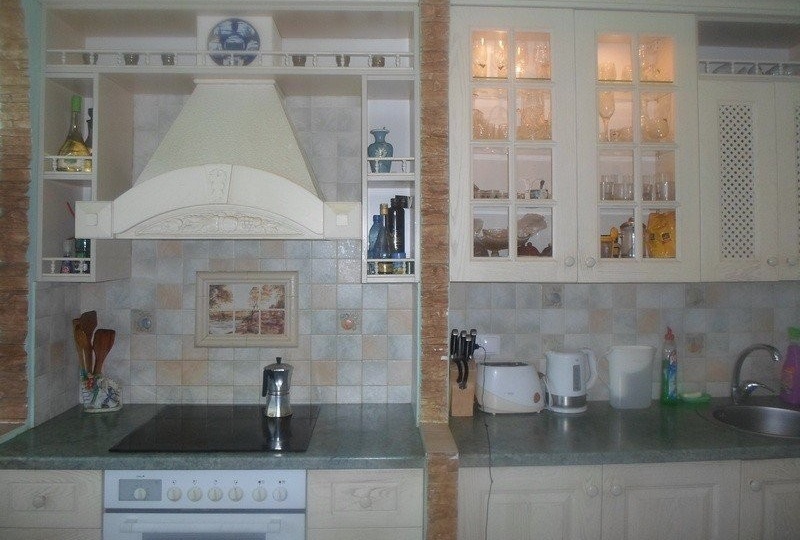
If desired, a drywall hood can be easily styled to fit any interior.
Wallpapering or even tiling with ceramic tiles is possible. Drywall is such a versatile material that allows any external processing.
Video: how to install a hood
Equipping a kitchen with an exhaust hood is not so difficult, most importantly, comply with all the rules. The only thing you need to constantly remember is that the forced ventilation device needs periodic care. About once every six months, it is necessary to remove and clean the exhaust filters according to the instruction manual. Otherwise, these devices are unpretentious.