How to increase the area of an aluminum heating radiator without buying a new one

Quite often, residents of apartments and private houses have a problem - they constantly feel a lack of heat, despite the systematic supply of heated coolant. This causes great discomfort. To solve the problem, you can increase the number of sections in the radiator. Thanks to this, a comfortable temperature will be achieved.
Ability to add sections
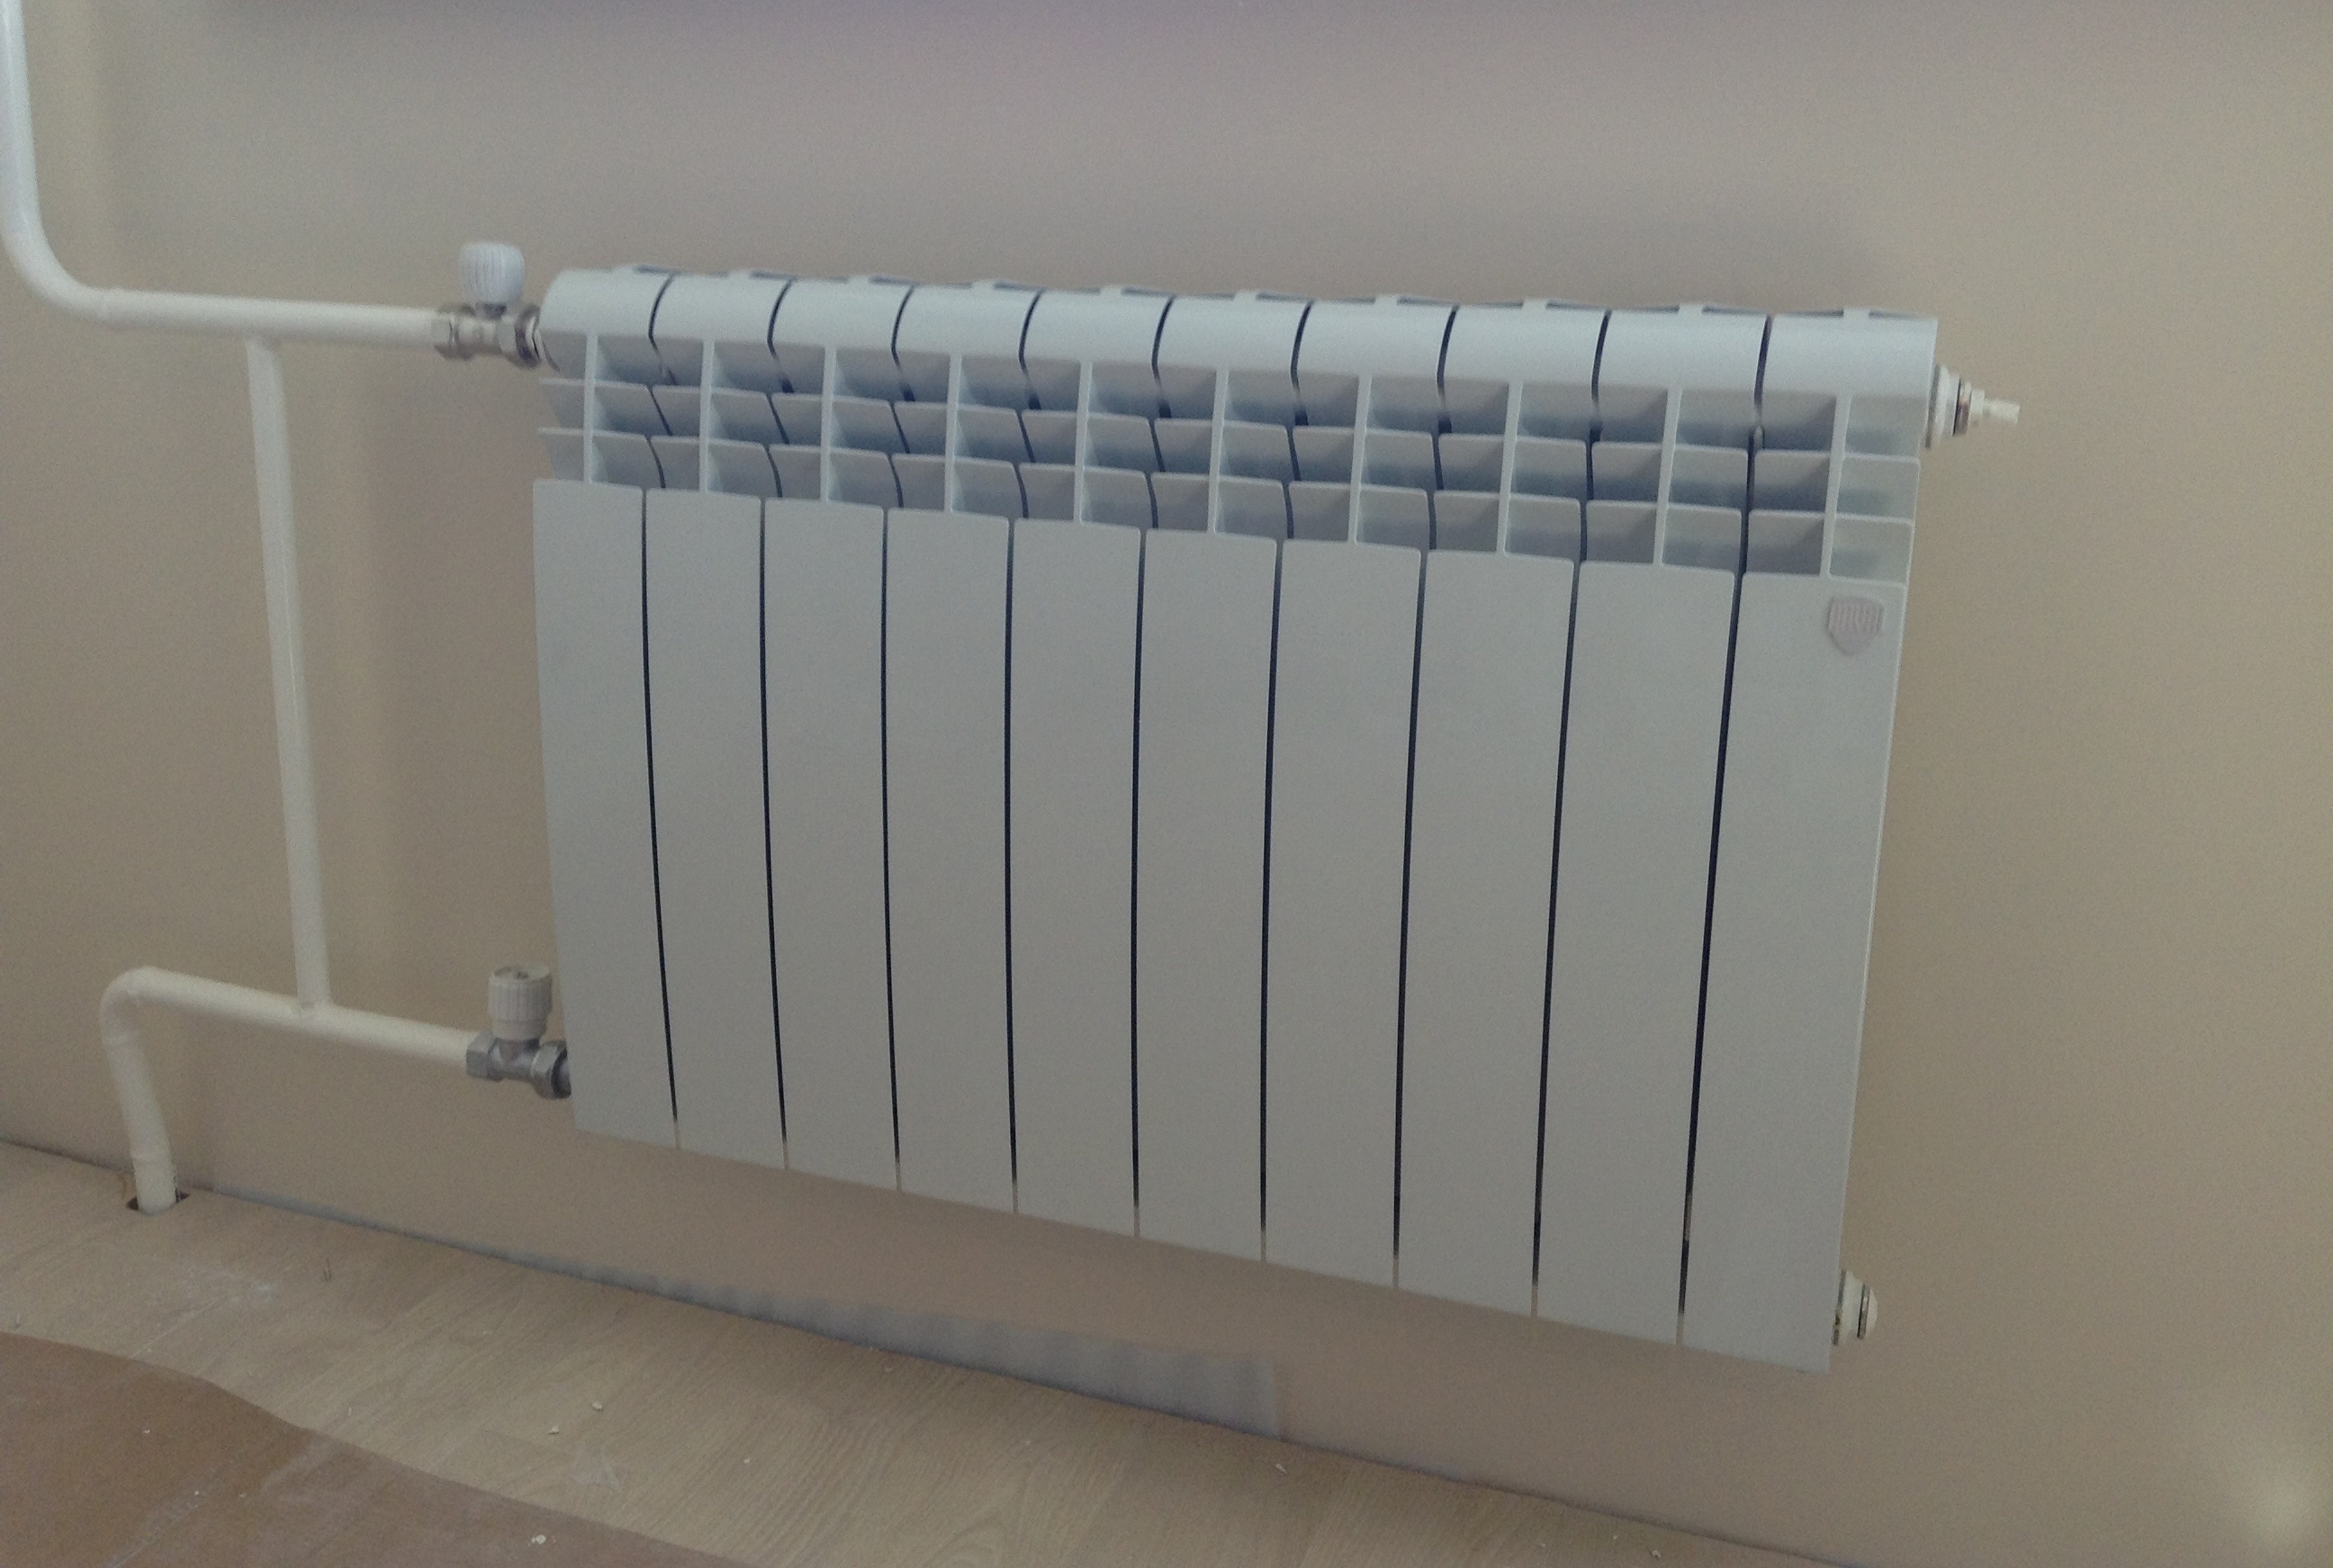
Sectional type batteries are enhanced by adding one or more sections to them. At the same time, the owner of the apartment will not have to pay more for heating, unless, of course, special meters have been installed in the house to account for the flow of coolant. The size and number of radiators does not affect the fixed amount of the bill, but the air temperature in the apartment increases significantly.
It should be noted that with an initially incorrect calculation of the system capacity (this applies to houses with individual heating), increasing the area of the batteries is not the best way to increase heat transfer. This method will significantly increase the load on the network.
Essential tool
Before adding sections to the aluminum radiator, the following tools and materials must be prepared:
- Directly the radiator section itself.
- Special gaskets.
- Gas key number 2.
- Heating nipples.
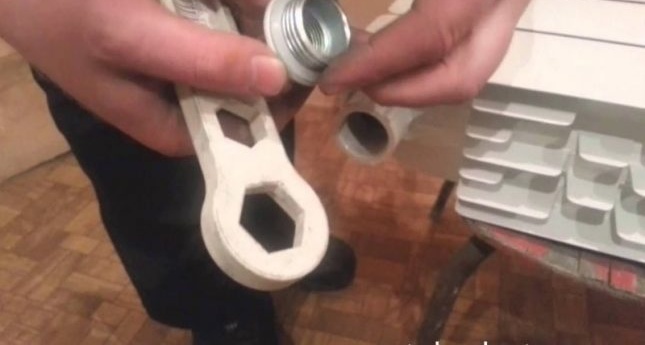
- Radiator key.
- Sandpaper.
- Plugs for batteries with right and left-hand thread.
- Paronite gaskets.
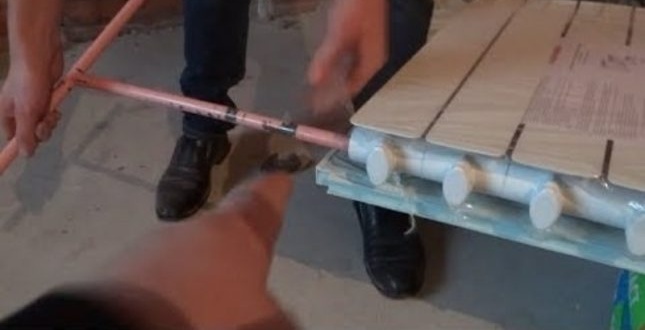
How to make a T-key yourself
The radiator key can not be found in stores, so you have to borrow it from friends or make it yourself.
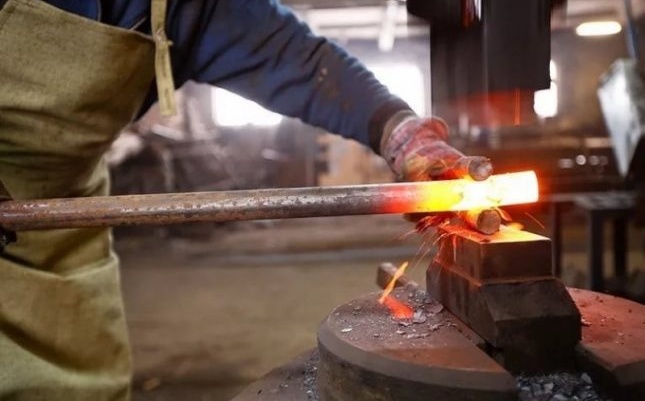
For manufacturing, it is necessary to take fittings with a diameter of 14 or 16 mm. One end of it, 40 mm long, must be heated with a gas burner to almost white, and then flattened with a sledgehammer on an impromptu anvil.
The process is repeated several times. At the same time it is necessary to give the required size and shape. It is best to have one nipple with you to immediately try on the workpiece.
After obtaining the desired size, you should proceed to hardening the working area. The treated end is again heated and lowered into cold water or engine oil. The second option is better, but you need to make sure that the oil does not catch fire. You should drive the key in a circular motion until it has completely cooled down.
If the size of the working area of the tool turned out to be larger, then the final fine-tuning is carried out using a grinder. It is necessary to ensure that the key does not overheat. To do this, it should be periodically lowered into cold water.
For convenience, the tool must be provided at the second end with a cross. It is necessary to take two pieces of fittings of 15 cm each. They are welded with an overlap of the arcs to a friend and to the end of the radiator key.
In some cases, not a cross is made, but a ring. The inner diameter should be 4-6 cm. The curved edge must be welded. Sometimes such a key is more convenient to use.It is designed to carry out work without dismantling the radiator. In this case, the T-shaped tool will not be able to crawl, since the distance from the wall will not be enough. Because of this, in some cases even a bare-end key is used. To perform the work, a gas key No. 2 is required.
Step-by-step instruction
Before adding sections to the radiator, it is necessary to perform certain preparatory work:
- Drain all water from the heating system.
- Remove the battery.
- See if there is debris and scale inside. In case of detection, all dirt must be removed.
- Check for scale in the nozzles that connect the battery to the heating pipes. If there are any growths, you need to remove them with sandpaper.
Preparatory work is necessary to ensure that all connections are airtight. Only after this can we begin to directly build up the sections.
Removing the plugs
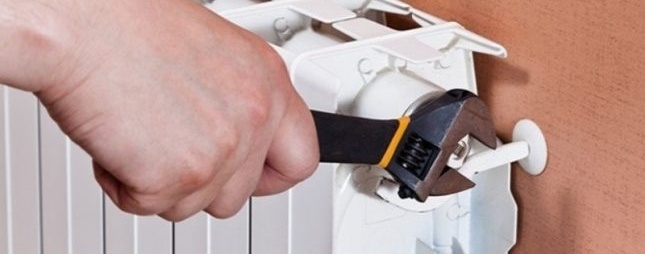
With the help of a large adjustable or gas wrench No. 2, the plugs and futorki are unscrewed. These are hollow nuts that have external and internal threads. They are designed to connect heating pipes to the battery.
To remove the plugs, the radiator must be placed face up. The upper plugs are unscrewed by themselves, the lower ones - by themselves.
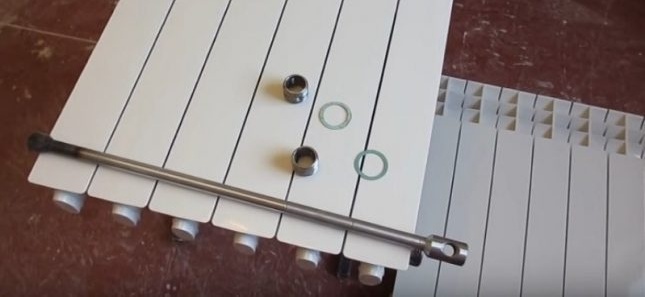
Installation of connecting nipples
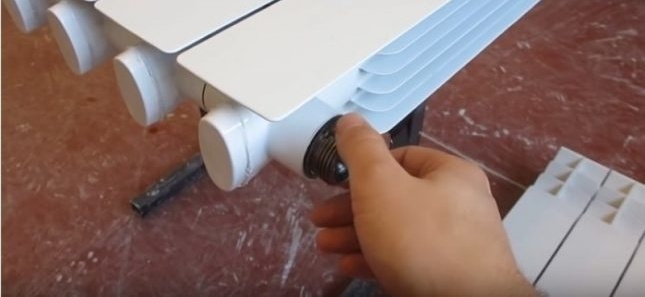
The removed radiator is placed on a flat surface, but on the contrary you need to position the section that you plan to increase. Please note that the left thread is on one side and the right is on the other.
Now the nipple is taken and positioned so that the threads on the connected sections coincide completely. After that, the nipple is screwed onto the left side of the radiator by one thread. With the second side you need to do the same.
Joining sections
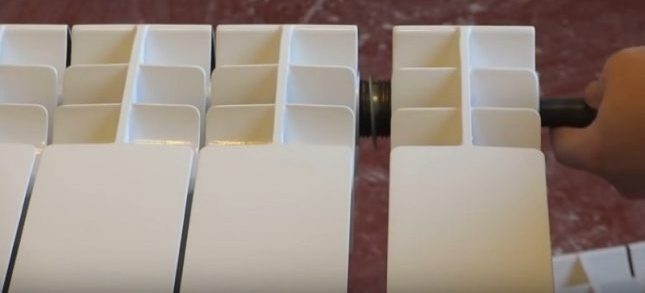
After installing the connecting nipples, the sections are attached very tightly to each other. Between them, it is necessary to lay a seal, measuring the distance to the nipple. For this, a key for radiators is used. It is inserted to the measured length inside the battery.
During the twisting of the nipple, it is necessary to ensure that the connecting element is simultaneously screwed into both sections. After that it is necessary to make 3 full turns with a radiator key. So the nipple is fixed as tightly as possible.
Now you need to do the same procedure with the other side of the radiator. It is important that after the end of the work, the connected sections are as tight as possible.
Installation of stubs
At the end, plugs and paronite gaskets are installed on the radiator. For this, a gas key is used. It is necessary to achieve tight screwing. This will guarantee a good tightness. Installation of valves is optional. Installation of cranes is optional.
The described instructions apply to other types of radiators. The principle of building sections is always the same. The main thing is to follow the sequence of actions and not to rush anywhere.