Warm floor on the balcony and loggia: analysis of the 3 most popular device options
Of course, in order to create a cozy, comfortable atmosphere on the balcony, you need to correctly think about its insulation. Firstly, it is necessary to install warm frames with double-glazed windows, secondly, lay insulation on the walls, on the parapet, and thirdly, an additional element of heating is the warm floor. As a result, if everything is done correctly, the balcony will turn into an office or become a place for relaxation, for conducting sports. In this publication, we will pay attention to the third point, considering the question of how and from what to make a warm floor on the balcony?
The first good option is heating mats.
First you need to say a few words about the most mats. This is a unique system consisting of one-, two-core heating cables attached to a special grid in the form of a snake.
This is important to know: the cable laying step is approximately 5 cm, and the heating cores are made of materials having a high degree of resistance.
As for the advantages of the system, these include the following properties:
-
- high-quality mats are safe for human health;
- insignificant increase in the thickness of the floor - together with the tile this indicator is not more than 1.7 cm;
if the room has a complex shape, the mat is cut into fragments, but without violating the integrity of the cable.

Heating mat - almost finished design that does not require mounting to the base
With regard to installation, a warm floor on the loggia can be done on their own, without resorting to the services of hired workers. For this, first of all, it is necessary to pay attention to preliminary processes:
- as a substrate, a concrete base is used, thoroughly cleaned of dust and dirt. For the best coupling the base is primed;
- Before starting laying, it is advisable to check the working resistance of the mat with an ohmmeter;
- determine the place for the rational location of the temperature controller, for the supply of wires. Then you need to equip the corresponding grooves in the floor, in the wall;
- installation of the sensor - this element is mounted inside a special channel, that is, in the recess of the floor. Never place it near a heating cable.
When all of the above manipulations have been completed, you can proceed to installation. It consists in laying heating mats in adhesive mastic to fix the tiles.
This is important to know: after completion of work, it is necessary to check the functionality of the system. This refers to a resistance test, as well as a visual inspection for lack of kinks.
Film infrared flooring - an alternative solution to the problem
This type of underfloor heating perfectly combines with many floor coverings, ranging from tile to woolen carpet. The principle of its operation is based on the long-wave radiation of heating elements when both the floor and surrounding objects are heated.They give off secondary heat, thereby creating a comfortable temperature on the balcony. Strips of carbon paste sealed between layers of polyester act as heating elements in a film heater.

The infrared film floor is ideal for heating small areas.
A few words need to be said about the significant advantages of the film floor. So, we are talking about such characteristics:
- low power consumption;
- quick installation and commissioning;
- the floor warms up in 10-30 minutes;
- minimum electromagnetic field;
- a slight decrease in the height of the room;
- reliability, safety.
But how does the film floor fit? We will give an answer to this question, considering the traditional installation scheme:
- leveling the base;
- laying heat-reflecting material - for example, it can be Isolon;
- the film is cut along the lines, and then neatly laid on the equipped thermal insulation;
- installation of a temperature regulator;
- installation of electrical contacts;
- isolation of connection points with bitumen insulation.
It is worth paying attention: film strips are best attached to reflective material with masking tape in order to maintain their position during the installation of the finishing floor.
An infrared floor kit includes instructions that you must familiarize yourself with. In addition, the floor area should be considered when choosing the best fit kit. And so that the perfect microclimate reigns on the balcony, the film is additionally mounted on the ceiling, on the walls. As a result, comfort is provided in any weather.
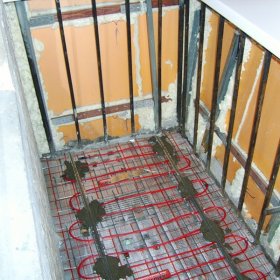
Cable System - The Most Common Technology
Everyone knows that carrying out a complex of works on laying a warm floor on a balcony is complicated due to the limited space of the room. For this reason, the use of a cable system is very advisable.
The cable is mounted under the final floor covering, and only the thermostat remains visible, with which the heating intensity is regulated. One can not fail to mention the significant advantages of the cable system, because this is a fundamental point. These include:
-
- economic benefit - energy consumption is quite acceptable;
- reliability and durability - the heating conductor is in the insulation layer, so it does not oxidize. The cable is protected by a cement-sand screed, as well as flooring;
- floor heating is easy to adjust;
comfortable conditions are created in the room - especially this moment is relevant when combining the loggia with the room.

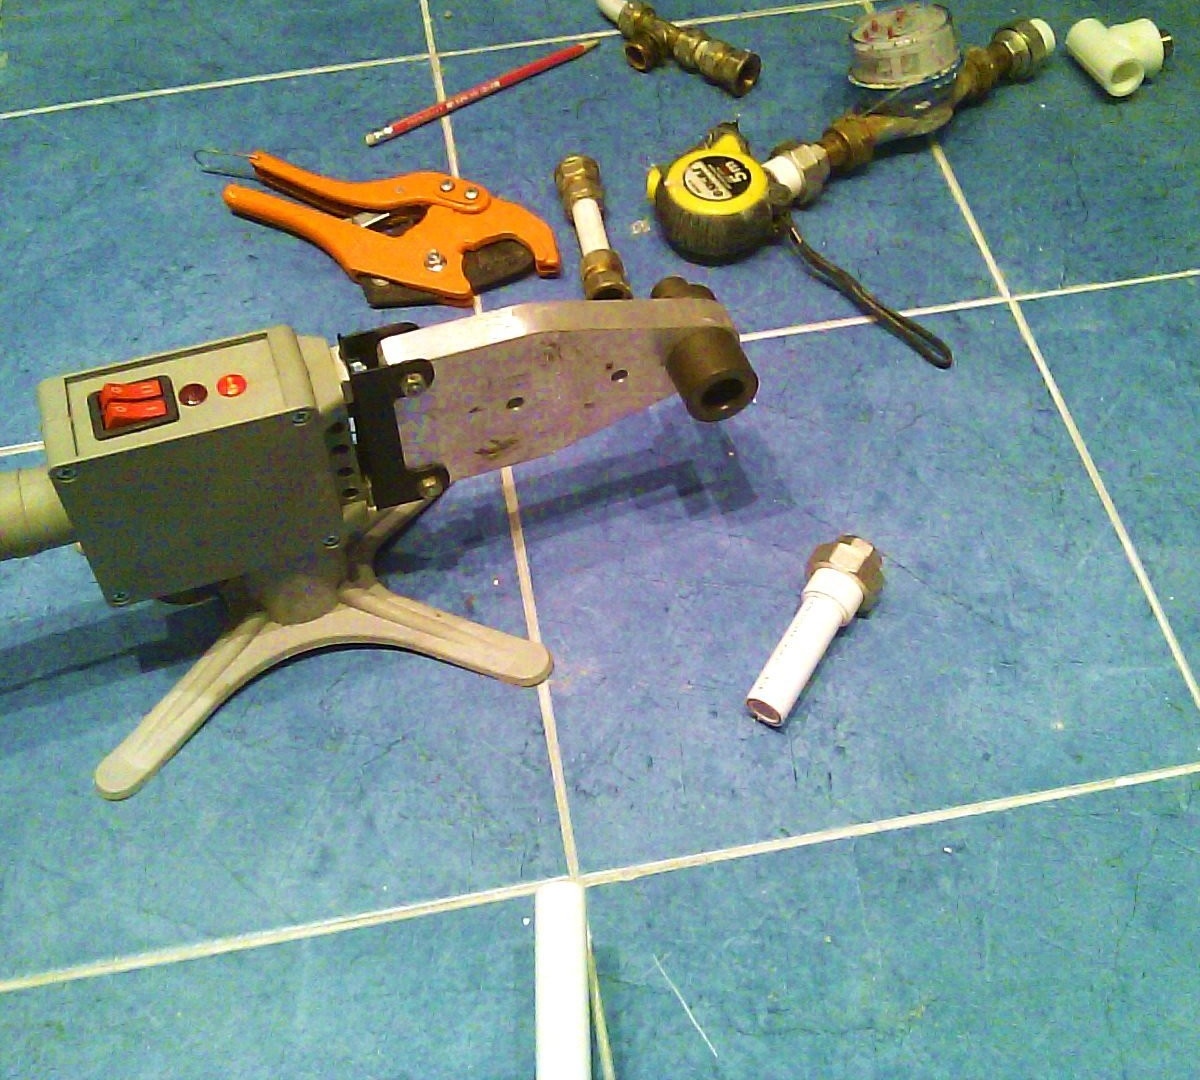
The cable system can be installed in a special metal assembly
Installation of a cable heating system is a responsible process, so we want to give useful recommendations.
Guided by them, you can do everything yourself:
- an obligatory element when laying the cable is the presence of a layer of waterproofing and sound insulation. If this moment is ignored, a large amount of heat generated by the system will go down, that is, to the ceiling of the apartment of the lower floor;
- a cement-sand screed is laid without air gaps: it should have a thickness of 4.5 cm;
- the heating cable is laid in a zigzag manner (interval between parallel lines 2.5 cm, 10 cm);
- the cable is protected by a thin cable tie;
- the temperature controller is installed in an accessible place;
- floor operation can be started after about 3 weeks, after the screed has completely dried.
Electric underfloor heating on the loggia is needed if a person wants to create a good microclimate and fully use this room. Although there are few options for arranging a warm floor, but, after reflection, you can choose the appropriate solution.

2 comments