DIY heat gun: a brief analysis of the 3 most popular designs
The need to quickly heat a large or small room is not so rare. Sometimes it is necessary to melt the garage, dry the cement wall, warm the cellar, shed, garden house, cottage, etc. In this case, the do-it-yourself heat gun may be the best solution. To make such a device is not so difficult, while you can choose the appropriate type of fuel: electricity, diesel fuel, liquefied gas in cylinders, etc.
It is difficult to name a more convenient and simple device for heating rooms than a heat gun. It is a powerful heating element and fan, enclosed in one housing. Such a device heats the air and quickly spreads it throughout the room. It will take a few minutes to warm up a small room, and heating a large room will not take too much time.

The body of the heat gun must be closed on both sides with grilles that will freely pass air. This is an indispensable element of all industrial models.
The design of the heat gun is very simple, so a properly manufactured device almost never breaks. For the operation of the device, you can use various fuels:
- electricity;
- liquefied gas;
- diesel fuel;
- kerosene;
- gasoline, etc.
The efficiency of the heat gun depends on the power of the device. For household use, a device with a power of 2-10 kW is quite suitable. For large rooms you will need a heat gun with a capacity of 200-300 kW.
Content
Unit # 1 - electric heat gun
An electric heat gun is perhaps the easiest and safest option for a heater. If there is access to electricity on the site, such an aggregate should be made. It will be useful both during construction work and later, for various household needs both in the house and on the site.
Materials and Tools
To make an electric heat gun you will need:
- frame on which the structure will be supported;
- metal case;
- heating element (TEN);
- fan with electric motor;
- switch or control panel;
- cable for connecting the device to the mains.
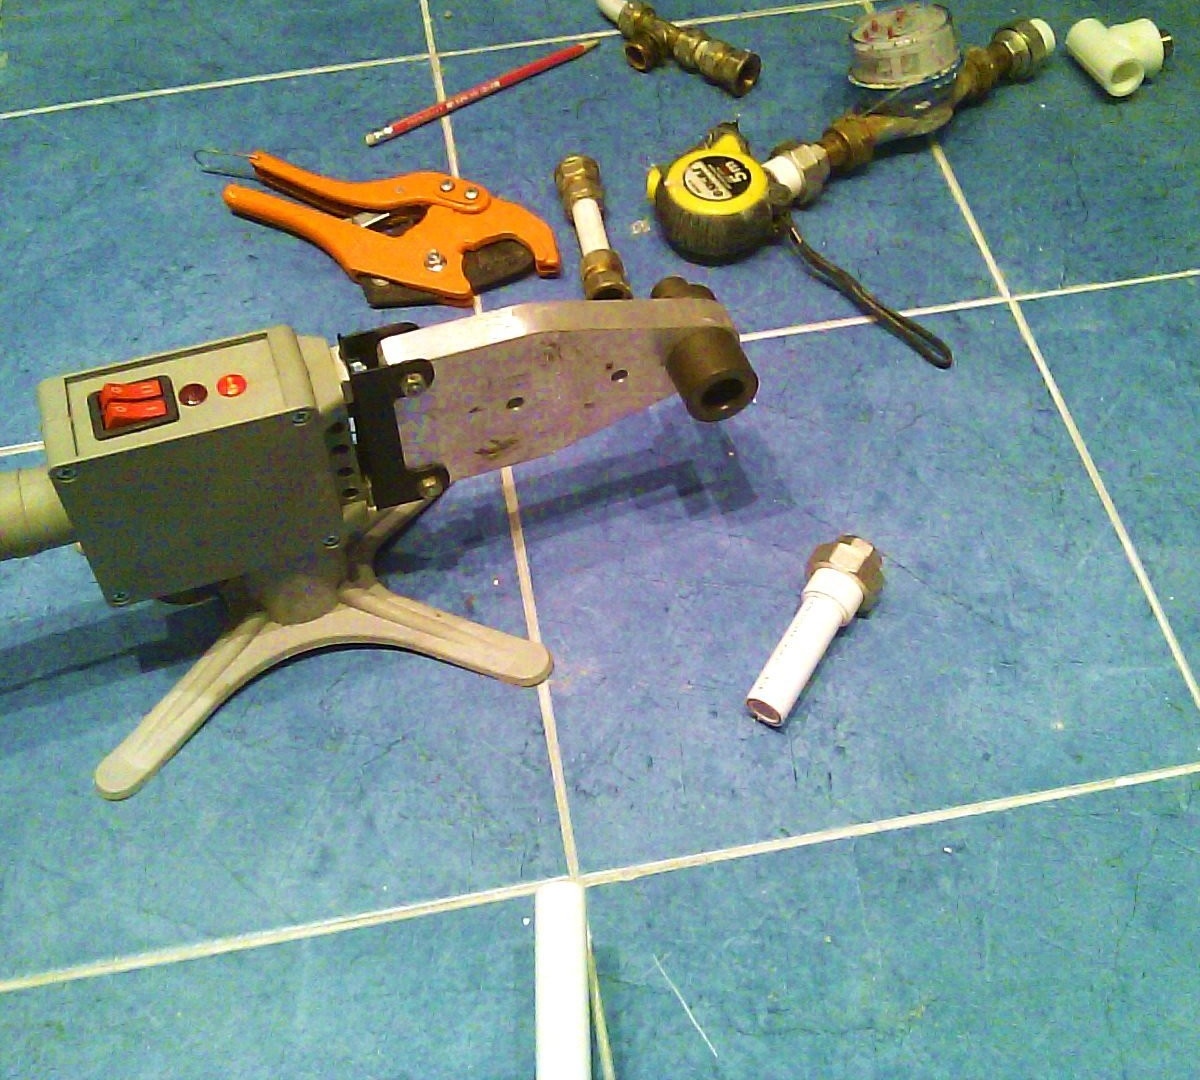
The heat gun body can be made from a suitable length of pipe or from a sheet of galvanized iron. For work, you will need a metal tool and, possibly, a welding machine. This device received the name “gun” because of the similarity of its cylindrical body to an old weapon. However, the heater body may also have a square or rectangular cross section, if it is easier to manufacture.
Please note that the product body may become quite hot during use.You should choose a heat-resistant or thick enough metal for the case. In addition, it makes sense to apply a heat-insulating coating to its metal parts.
When choosing a suitable heater and fan, it should be remembered that the heating temperature depends on the power and number of heating elements. The fan speed does not affect the amount of heat, but the higher it is, the more evenly the received heat will spread throughout the room. Thus, the heating element is responsible for the heating temperature, and the fan rotation speed is responsible for the quality.
To reduce costs, the heater can be removed from an old iron or other household appliance. Sometimes it makes sense to shorten the heating element in order to increase the heating temperature. A suitable impeller motor can be found in older vacuum cleaners.
Assembly process
To assemble the electric heat gun correctly, it is recommended to first draw up a diagram of the electrical circuit of the device. You can use a ready-made scheme, one of the options is presented below:

For the correct installation of the electric heat gun before starting work, it is recommended to draw up an electrical circuit, reflecting on it the connection of all elements to the mains
Collect the electric heat gun in the following order:
- Prepare the housing and support.
- Install the heating elements (or several heating elements) in the center of the housing.
- Lead a power cable to the heating elements.
- Install a fan and connect power to it.
- Connect the power wire, wiring from the heating elements and fan to the control panel.
- Place the protective grill on the front and back of the housing.
During assembly, all electrical connections must be carefully insulated. At the end of the assembly, make a test run of the device. If it works without failures, you can use the gun for its intended purpose.
Unit # 2 - heat gun for diesel fuel
Where access to electricity is limited or impossible, diesel heaters are often used. It is somewhat more difficult to make such a heat gun independently than an electric model. You will need to make two cases and work as a welding machine.
How does this design work?
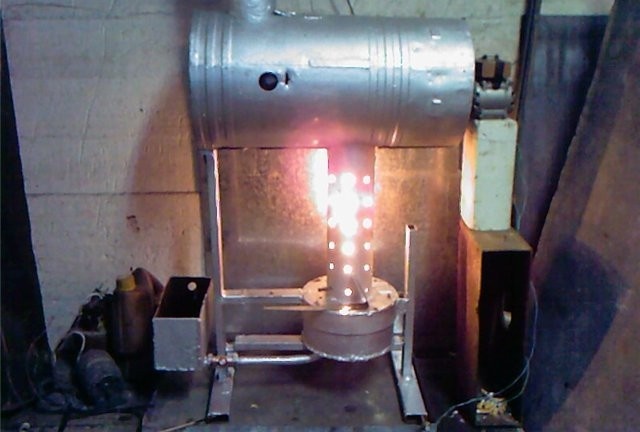
The bottom of the diesel heat gun is the fuel tank. The device itself is placed on top, in which the combustion chamber and the fan are connected. Fuel is supplied to the combustion chamber, and the fan pumps hot air into the room. For transportation and ignition of fuel you will need a connecting pipe, fuel pump, filter and nozzle. An electric motor is attached to the fan.
The combustion chamber is mounted in the center of the upper body of the heat gun. It is a metal cylinder, the diameter of which should be approximately two times smaller than the diameter of the housing. Diesel fuel combustion products are removed from the chamber through a vertical pipe. For heating a room with an area of about 600 square meters. m may need up to 10 liters of fuel.
Assembly process
The lower case must be at least 15 cm from the upper part. So that the fuel tank does not overheat, it should be made of a material with low thermal conductivity. You can use a regular metal tank, which will have to be covered with a layer of insulating material.

The diagram illustrates the device of a heat gun operating on diesel fuel. Mount the device on a sturdy, stable frame.
The upper case must be made of thick metal, it may be a suitable section of a wide steel pipe. In the case it is necessary to fix:
- combustion chamber with a vertical outlet;
- fuel pump with nozzle;
- electric fan.
Then, a fuel pump is installed, and a metal pipe is removed from the tank, through which fuel is supplied first to the fuel filter, and then to the nozzle in the combustion chamber.From the ends, the upper case is closed with protective nets. The power supply for the fan will have to be taken care of separately. If there is no access to the mains, use a battery.
When using a diesel heat gun, it is important to adhere to safety regulations. Even at a distance of a meter from the body, the directed flow of hot air can reach 300 degrees. It is not recommended to use this device in enclosed spaces, since the products of the combustion of diesel fuel can be hazardous to human health.
In addition to the diesel engine, other types of liquid combustible materials, such as used engine oil, are also used for heat guns. An interesting version of such a device for “development” is presented in the following video:
Unit # 3 - gas heat gun
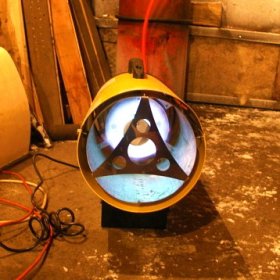
The design of the gas heat gun is in many ways similar to the construction of a diesel unit. There is also a combustion chamber integrated in the housing. Instead of a tank with liquid fuel, a cylinder of liquefied gas is used.
As with the use of diesel fuel, the removal of combustion products is of great importance, since it is impossible to ensure complete combustion of gas in improvised devices. The air that enters the room is heated by contact with the combustion chamber. Exhaust fumes leave the device through an outlet to the street. Such an indirect heating system is safer than open flame heating.

Indirect heating heat guns are equipped with a closed combustion chamber that prevents contact between open fire and air - this design is more complicated, but safer than direct heating models
To increase the heat transfer, longitudinal plates can be welded to the combustion chamber body, usually 4-8 pieces are made. In this case, the dimensions of the combustion chamber with additional plates should be less than the diameter of the casing, so that the chamber does not touch its walls and does not overheat the heat gun casing.
The body of the gas heat gun during operation is very hot, so it must be covered with a layer of thermal insulation to avoid possible burns or fire.
To create a gas heat gun, you will need the following elements:
- LPG bottle
- burner;
- gearbox;
- metal case;
- fan;
- device for remote ignition;
- frame for attaching the housing.
The gas cylinder is connected to the gearbox, which provides a uniform supply of fuel to the burner. The air around the combustion chamber heats up, the fan blows it into the room. The order is almost the same as in the manufacture of a diesel heat gun. The gas heater device is illustrated in the diagram:

This diagram clearly demonstrates the device of a heat gun operating on liquefied household gas. Power must be supplied to the fan

With a gas heat gun, only cylinders that are filled with gas on professional equipment should be used. Homemade cylinders may leak
During the manufacture and operation of the gas heat gun, it is recommended to adhere to the following rules:
- The gas supply pipes at the joints must be carefully sealed.
- It is imperative to install a device for remote ignition, since manual ignition can lead to an explosion.
- Carefully monitor that the gas point is always at a sufficient distance from the heater, otherwise the cylinder will overheat and the gas will explode.
- Never use artillery cylinders with a gas cannon.
- Do not leave a working device unattended for a long time.
Another important point is the ratio of the power of the gas gun and the size of the heated room.Do not use a device that is too powerful in a small room, as this can easily result in a fire.