Pump station relay: installation and adjustment of the differential pressure sensor
High-quality water pressure sensors in the water supply system of a private house are simply necessary. Thanks to these small devices, the equipment operates in a suitable mode and breaks less frequently. Periodically, the pressure switch has to be replaced. And craftsmen who decided to assemble the pumping station themselves, and not to buy a ready-made unit, will have to install the sensor with their own hands. In this case, it is important to connect the device correctly, and then properly configure it. In this article we will explain in detail how to do this.
Content
How does a water pressure sensor work?
A pressure switch is a small device that controls the operation of a pumping station. It measures the water pressure in the system and, based on the data received, turns the pump on or off. When the pressure in the system decreases, the relay turns on the pump, and the accumulator is filled. When the pressure reaches the maximum value set during instrument setup, the pump shuts off. When the amount of water decreases and the pressure reaches the minimum value, the device turns on and the cycle repeats.

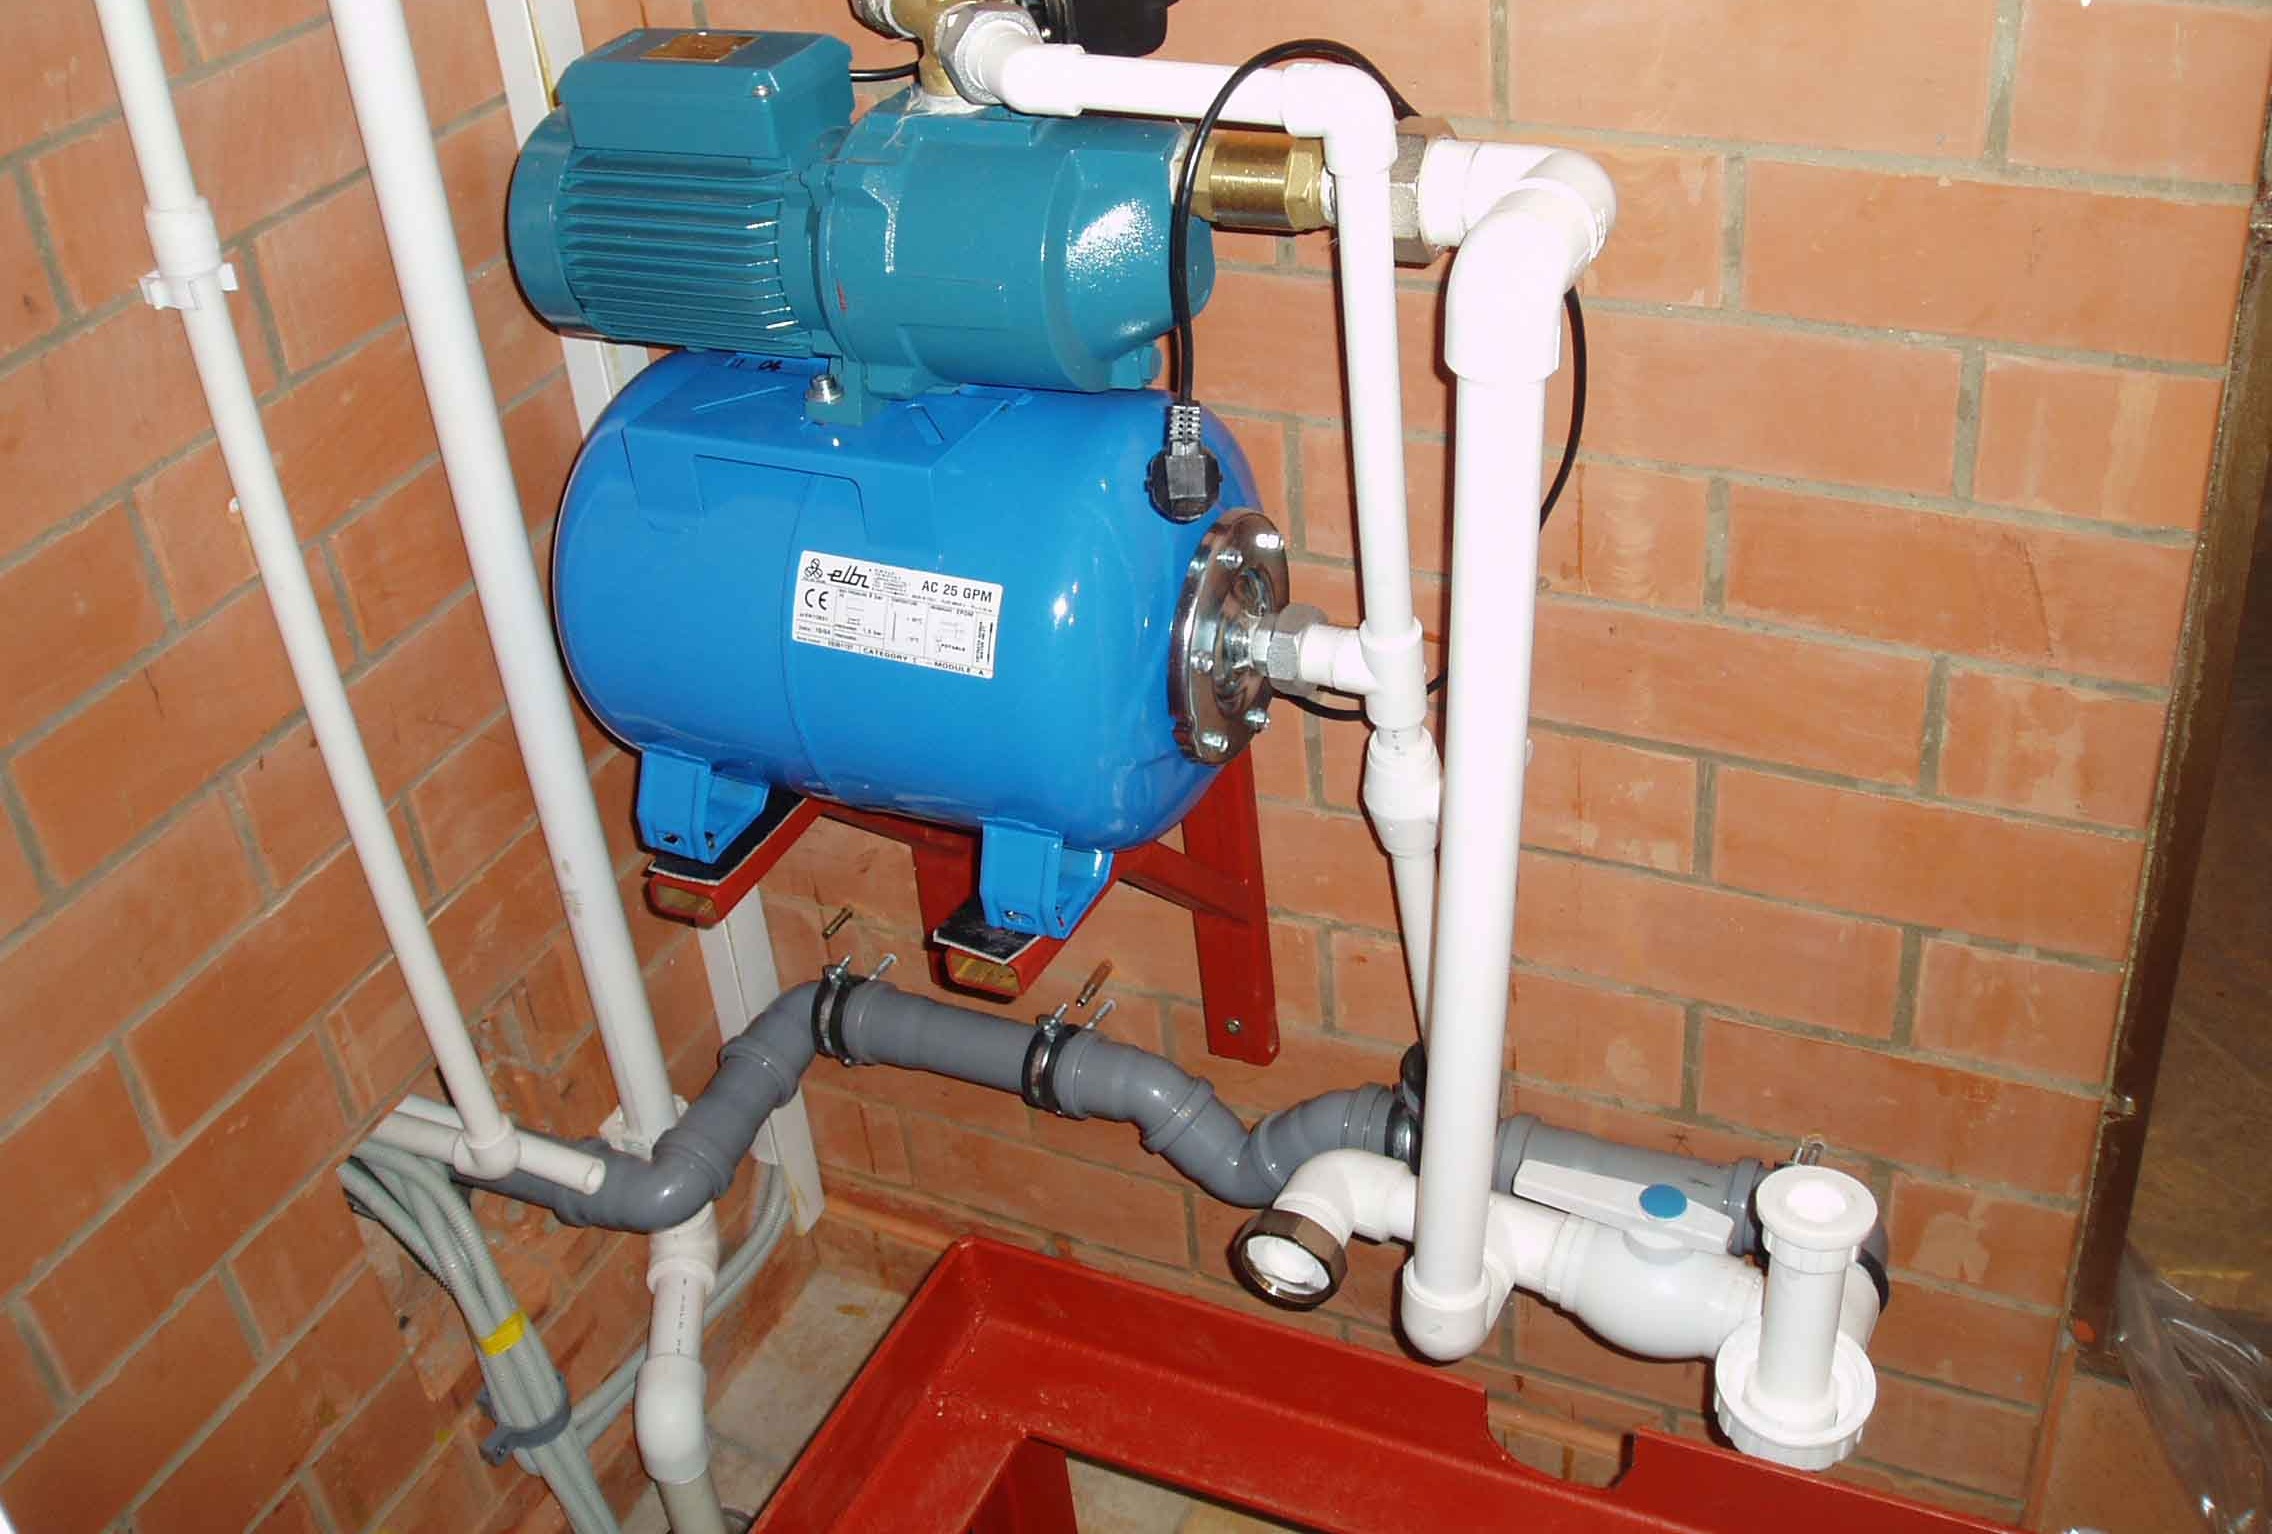
The water pressure sensor in the water supply system allows you to control the filling level of the accumulator and control the on / off of the pump in automatic mode
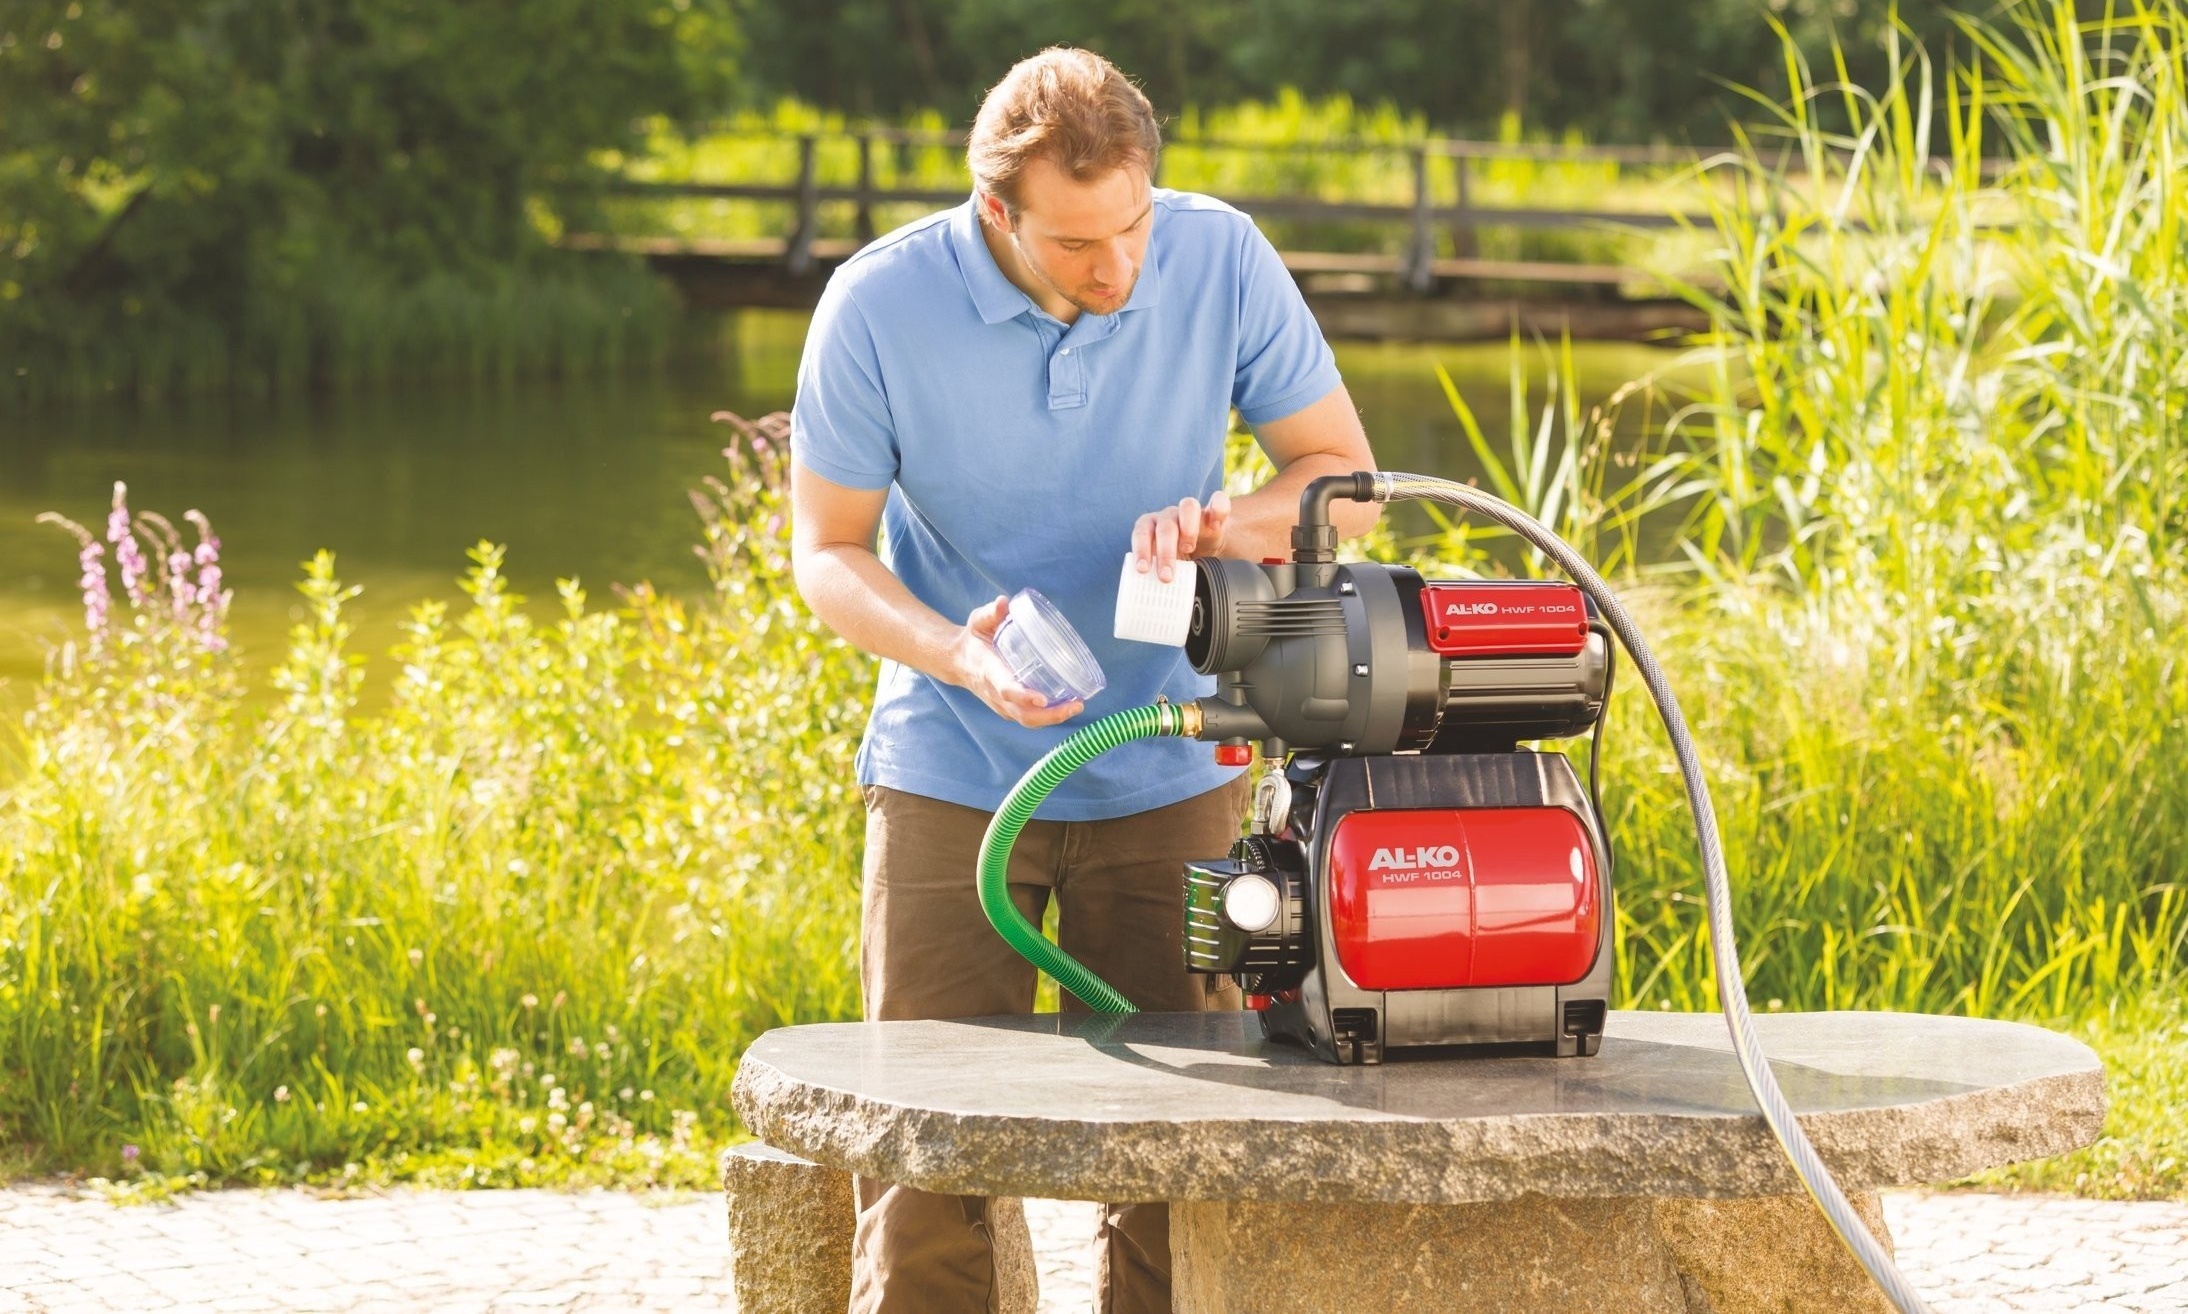
For normal operation, the water pressure sensor in the pipeline must first be connected to the water supply system. Then the device is connected to the power supply. After this, the relay must be configured, and only then can it be considered ready for operation. An overview of several models of pressure switches is presented in the following video review:
How to connect the sensor to the water supply?
To connect the device to the water supply system, a special nut is provided on it. It is rigidly fixed to the relay, so during installation you will have to rotate the entire device clockwise. On modern pumps, there is usually a specially designed place for mounting a pressure switch. If such a nest is not provided, you should use the inch brass tee, popularly referred to as the "herringbone". This convenient part allows you to connect to the water line and pressure switches, and a manometer, and a hydraulic accumulator.

A special plug for a water pressure sensor allows you to connect all the necessary elements to the water system: relay, hydraulic tank and pressure gauge
Before starting installation, you should examine the location of the socket for the differential pressure sensor. Sometimes pipes or elements of the pump itself interfere with the normal installation of the relay. In this case, you should take care of the part, which will act as an "extension cord".

Not always the water inlet on the relay has a standard diameter of a quarter of an inch, especially if not a domestic, but a professional model is used.For proper installation of the device you will need a suitable brass adapter.
When connecting the pressure switch to the water main, the threaded connection must be sealed. To do this, you can use flax or a special thread Tangit Unilok. It is not cheap, but according to experts, this material is more convenient to use, it provides a more reliable result. Novice masters do not always succeed in making a reliable threaded seal on the first try.
When working with sealing thread, a number of recommendations should be followed:
- Before starting work, the thread must be turned end to face;
- the winding is produced not from the end, but to the end clockwise;
- start the winding from approximately the thread section to which the relay will be screwed, i.e., the sealing thread should be on that part of the thread that will then be hidden under the pressure switch mounting nut;
- the first loop of the seal must be firmly fixed;
- then the thread is carefully wound so that it is evenly spaced and does not fall into the grooves;
- the amount of sealant must be sufficient to prevent leaks, but not too large, otherwise the nut will not tighten or the thread will break so that leaks appear anyway.
After the sealing thread is laid, you can screw the relay. This should be done manually, slowly. When resistance appears, you need to arm yourself with a wrench. If the process proceeds with some resistance, and the sealing thread remains flat and does not form loops, then the seal is made correctly. If the thread gets tangled, forms loops, gets out, you have to remove the relay and reinstall the seal. If during winding only one or two small loops are formed, and in general the tangit lies flat, this is a permissible flaw, there is no need to redo the work.
Connecting the device to power supply
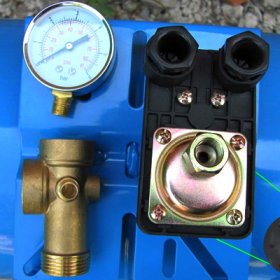
The next step in installing a water pressure sensor is to connect the device to the mains. First you need to find on the relay two groups of contacts, which are usually closed, but when they reach the maximum pressure value, they must open. Typically, the location of these contacts is indicated in the instructions for the pressure switch. If there is no instruction, any electrician will help determine.

The photo clearly shows the location of the contact pairs to which the power is supplied. When the maximum pressure is reached, the contacts open and the pump shuts down.
Note! To connect the relay to the mains, it is recommended to use a cable whose characteristics correspond to the power of the pump.
Now you should fasten the wire strands to the free contacts of each pair. Do not connect the contacts of one pair in this way, as this will lead to a short circuit. The ground wire is connected to a special screw on the relay housing. This screw is marked with the corresponding symbol.

This symbol conventionally designates the grounding contact. Failure to ground the appliance is a dangerous safety hazard that could lead to an accident and even personal injury.
Then the pressure switch must be connected to the pump. To do this, use a piece of wire of suitable length. One end of its conductors is screwed to the free contacts of the relay, the second to the contacts of the pump. It is recommended to observe the color of the cores. The earth contacts of the relay and pump can also be connected, although this is not considered necessary.
After that, you need to check the system. If the pressure on the pressure gauge increases as water is drawn in, when a certain maximum is reached, the pump shuts off, and as water is consumed, the pressure decreases, the relay is installed correctly.
How to configure the unit?
Usually, for the normal operation of the system, the settings set by the manufacturer are enough.For example, the factory settings of the RDM-5 Dzhileks model are 1.4-2.8. If for some reason they need to be changed, all manipulations should be carried out very carefully so as not to spoil the device by inept handling.
Before configuring the relay, you must:
- Disconnect power to the pump.
- Drain all water from the system (gauge needle will reach zero).
- Turn on the pump and fill the system with water.
- Wait for the pump to turn off automatically and record the shutdown pressure.
- Drain the water, wait for the pump to turn on automatically and record the start pressure.
Attention! Before setting the pressure switch, check the pressure in the accumulator. This indicator should be 0.2 less than the minimum value set on the pressure switch. In addition, it is recommended that you clean the filters in the system before starting to set up the relay.
To adjust the water pressure sensor, two springs are used - large and small. Using a large spring, the maximum value of the water pressure in the system is set. To do this, twist the spring. A small spring does not regulate the minimum pressure value, but the difference between the minimum and maximum. If the preset value seems too small, this spring should also be tightened until a suitable value is reached. They do not tighten the spring itself, but the nut that holds it. When this nut is tightened, the spring contracts, and when it is loosened, it straightens.
To increase the pressure to turn on the pump, a large spring must be tightened. Check the settings obtained by draining water from the system. The manipulations with a large spring are repeated until the switching pressure reaches the required level. To increase the pump shut-off pressure, a small spring should be tightened. This spring is more sensitive than large, it is necessary to act more carefully. If the on-off indicators need to be reduced, the spring nuts do not tighten, but unscrew.
Here is an example of the work on the video:

3 comments