Schemes for connecting a hydraulic accumulator to a water supply system
A stable, well-functioning water supply network is a real merit of the owner of a country house. Everyone who installs and maintains an autonomous system knows how difficult it is to foresee water outages that are dangerous for household appliances. One jump in pressure - and there is a risk of breakdown of the dishwasher or gas water heater. To prevent possible problems, you need to contact a specialist or connect a hydraulic accumulator with your own hands.
The device and types of accumulators
Before you start connecting accumulator, you need to get acquainted with its constituent parts and the purpose of each of them.

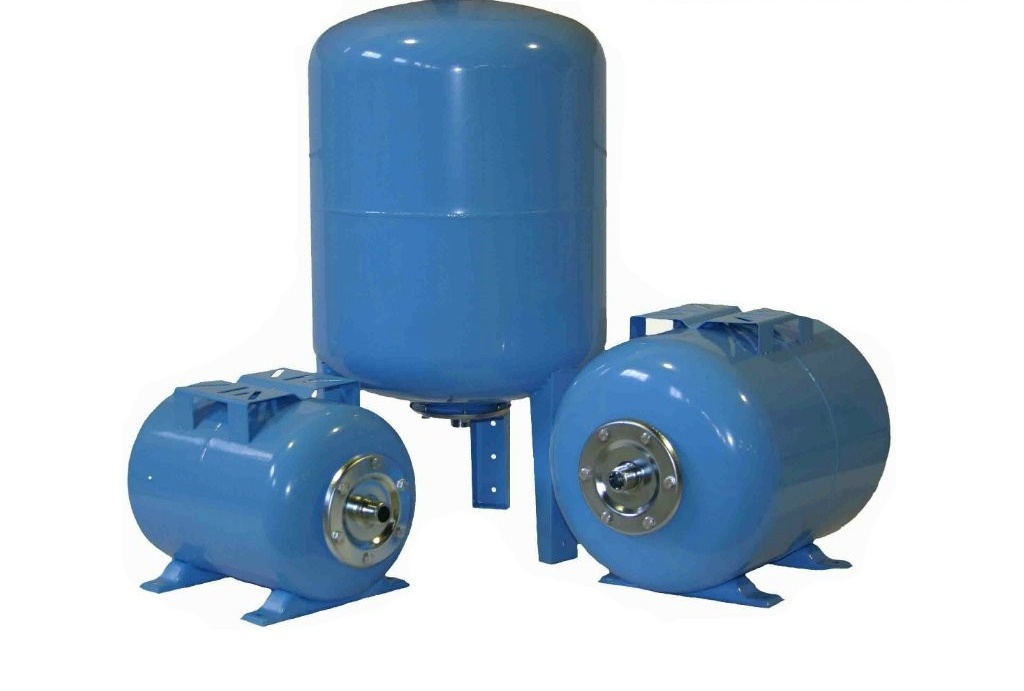
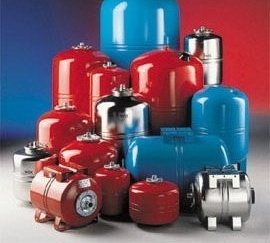
Blue accumulators are designed for water supply systems. Expansion tanks for heating systems are red

Accumulator accumulator design diagram: 1 - a metal housing, 2 - a membrane, 3 - a flange with a valve, 4 - a nipple for air injection, 5 - compressed air, 6 - legs, 7 - a platform for a pump
A hydraulic accumulator is a metal reservoir inside which is a rubber membrane in the form of a pear. The rubber (rubber) membrane is attached to the body by a flange with a pipe.
The accumulator accumulates pressurized water. The pressure in household appliances (1.5 bar) is created using air, in production models - inert gas.
Compressed air can be pumped into the housing using a bicycle or car pump. When water enters the tank, compressed air prevents the pear from breaking, providing resistance. With its help, pressure adjustment in the accumulator takes place. During the tapping process, water from the apparatus moves into the system.
Hydraulic accumulators are somewhat different in their purpose, so they can be conditionally divided into 3 types:
- For cold water. It supplies and stores water, protects equipment from water hammer during pressure surges. Protects the pump from wear during frequent starts.
- For hot water. Its difference is the ability to function in a high temperature environment.
- For heating systems (expansion tanks). They are an important part of closed heating systems.
You will learn about the types of expansion tanks for heating systems, their pros and cons from our next article:https://aquatech.tomathouse.com/en/otoplenie/kotelnaya/rasshiritelnyj-bak-dlya-otopleniya.html.
The place of the accumulator in the water supply system
The pump pumps water from a well, a well or a water pipe through pipes to a hydraulic accumulator, or rather, to a rubber membrane inside it. The process continues until the pressure reaches a certain point. The required pressure is set on the relay regulator, usually 1-3 atmospheres. When the desired pressure indicator is reached, the pump switches off (automatically).
Suppose you turn on a washing machine, shower or faucet in the kitchen - the water from the membrane immediately flows back into the pipes.At the moment when the pressure reaches the lower threshold, the relay activates and turns on the pump again. Thus, the cycle begins anew.
The video below will give a complete picture of how the accumulator works:
The frequency of turning on the pump directly depends on the volume of the accumulator. The larger its tank, the less often the pump turns on. Accordingly, the less often the pump starts, the longer the flange with the valve and the pump itself serve. The equipment is placed on the floor or mounted on a wall. In any case, its body does not suffer from operation.
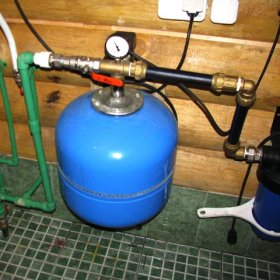
Connection using a surface pump
Let us consider in stages how to connect a hydraulic accumulator to a water supply system if a surface type pump is used.
- Checking the air pressure inside the tank. It should be 0.2 - 1 bar less than the value indicated on the relay (to turn on the pump).
- Preparation of equipment for connection: 5-outlet fitting (used to connect the accumulator, relay, pump and pressure gauge; another exit, fifth, is needed to connect the water supply pipe); pressure gauge; tow with sealant or tape FUM; pressure switch.
- Attaching the nozzle to the tank. The connection may be either a rigid hose or a flange equipped with a check valve.
- Alternately screwing the remaining elements: relay, pressure gauge, pipe leading to the pump.
Testing the system for leak detection. Particular attention is paid to compounds.

The connection diagram of the surface pump station is similar to the connection diagram of the pump
By connecting the pressure regulator relay, we carefully study the labels. Under the cover are the signed contacts: “network” and “pump”. The main thing is not to mix the wires. If there are no marks under the relay cover, call a specialist (electrician) to connect.
During connection, it is necessary to monitor the sealing of threaded connections. For a tighter fit, use tow (technical flax) with sealant or FUM tape.
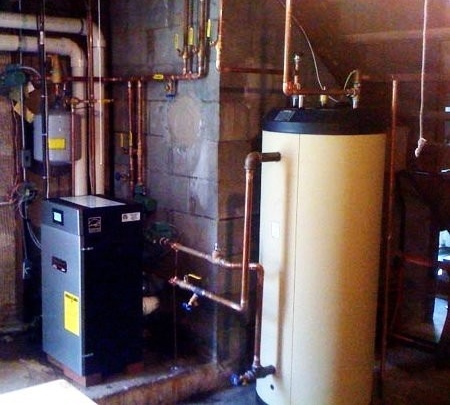
Connection diagram using a submersible pump
A submersible pump is different in that it is located in a well or in a well, that is, right in the place where water is supplied to the house, in this case, to the accumulator.

Accumulator installation diagram in a water supply system with a well

Installation diagram for a hydraulic accumulator with a submersible pump in a well
Here an important role is played by a check valve, which insures the system from the flow of water back into the well (well). The non-return valve is mounted in front of the pipe, directly to the pump. For this, an internal thread is cut in its lid. Consequently, the fitting will have an external thread on all sides. First, a non-return valve is mounted, then the accumulator is connected to the water supply system.
An approximate accumulator connection diagram is as follows:

Having installed the union, it is necessary to check the tightness
To measure the length of the pipe leading from the submersible pump to the edge of the well (well), a rope with a load is used. Having lowered the load to the bottom, the upper edge of the well is marked on the rope. I will stretch the rope, you can calculate the length from the bottom to the top point. Subtract the length of the pump and the distance from the place where the pipe leaves the ground to the top of the well. We also take into account the location of the pump: it should be approximately 20-30 cm from the bottom.
Read more about the pros and cons of submersible and surface pumps in our material:https://aquatech.tomathouse.com/en/vodosnab/kolod-skvaj/podbor-nasosa-dlya-kolodca.html.
Which accumulator model to choose?
Manufacturers, responding to consumer requests, produce equipment of various sizes. "Corridor" of volume indicators - 24-1000 liters. What to consider when choosing?

The volume of the tank depends on the amount of water consumed.
The determining factor is the amount of water needed to service the house (and possibly the infield).The minimum tank volume of 24 liters is enough for a family of 2 people, taking into account the shower, toilet, kitchen and watering the crops on the site.
More significant water consumption requires a tank of 50 liters or more. It should be calculated how many units of household appliances use water at the same time, add the number of people who also use water, and based on this, choose the necessary model.
It happens that the number of users has increased or a new household appliance using water has appeared. In this case, you just need to replace the tank with a large tank in volume, since connecting a hydraulic accumulator with your own hands is a quick and uncomplicated process.
9 comments