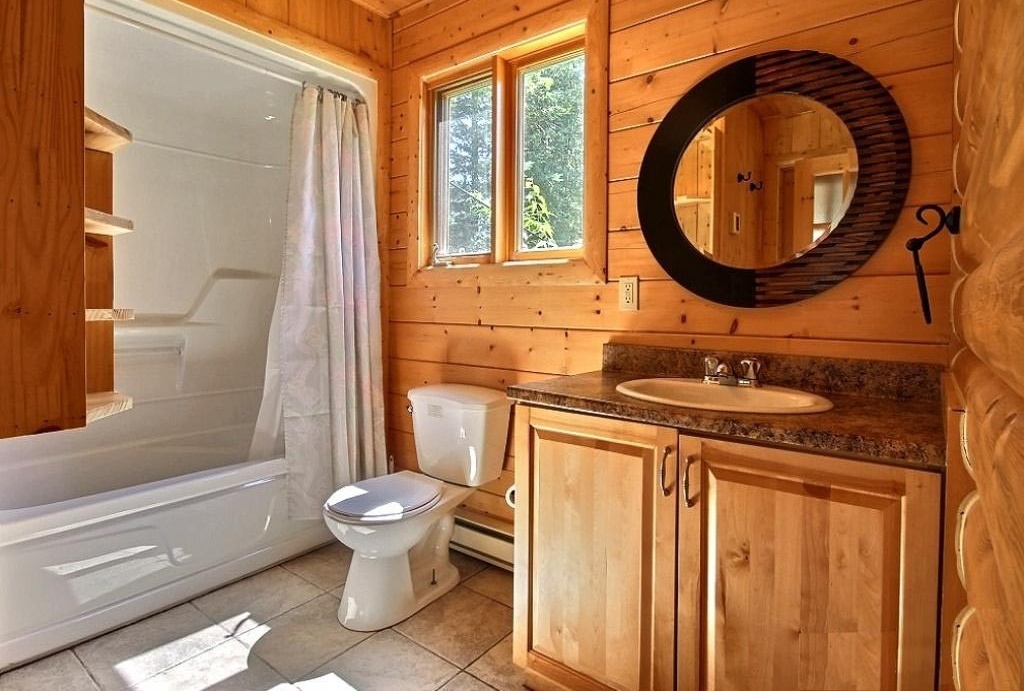
Do-it-yourself tiled shower cubicle - beauty and reliability

Water procedures are considered a necessary and daily ritual for every person. But what about the owners of apartments, where the dimensions of the bathrooms do not make it possible to place a bathtub and all the plumbing that we would like in the room? And the rapid rhythm of modern life rarely allows you to bask in the bath as much as you want. In this case, a shower cabin can help out, which will occupy a minimum of space. This is a worthy alternative to bulky plumbing, practical and allows you to roam the design imagination. Having made some efforts and realized non-standard ideas, you can turn the shower into a stylish mini-zone and make the habitual showering the most pleasant and relaxing procedure.
Content
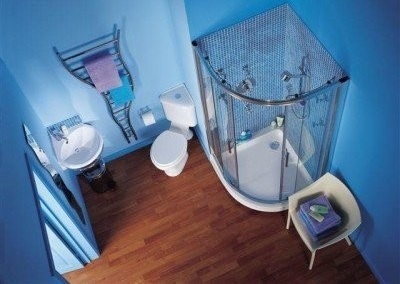
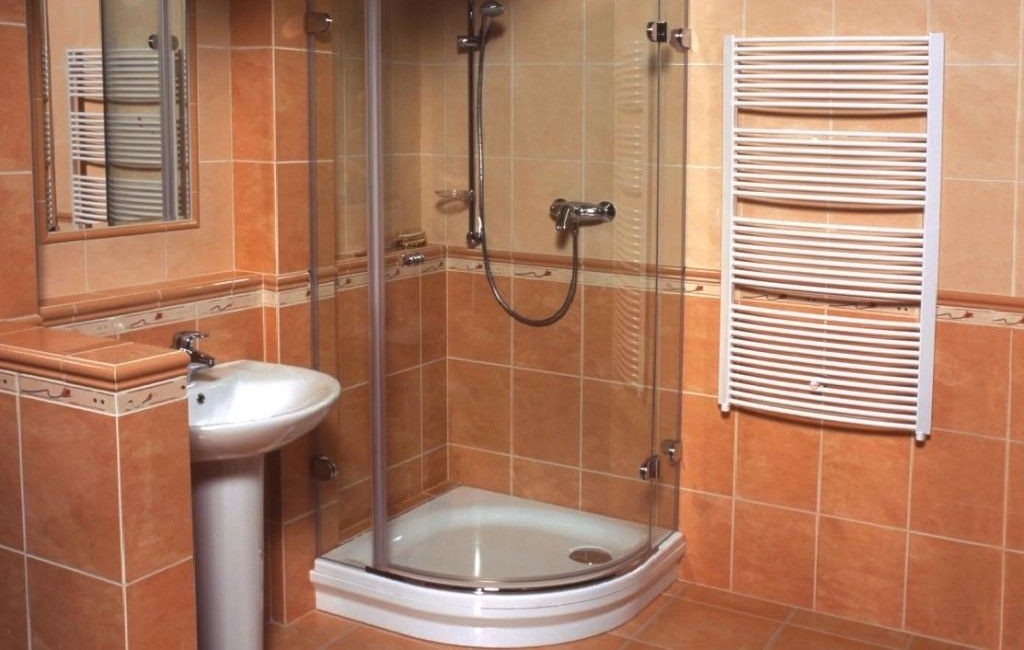
Why a tile shower is the most preferred option
It is not difficult to purchase a shower room ready-made and install it according to the instructions, however, many cabins available in the assortment of plumbing stores are often equipped with a whole system of special functions, which, according to statistics, are used far from often or not at all. In addition, a home-made shower has several advantages:
- Environmental friendliness, durability and safety of the material. Ceramic tile is not exposed to fire and does not conduct electric current.
- Long service life subject to all installation rules.
- Tile care is simple and does not require any special detergents.
- The ability to mask communications and repair flaws, as well as make the walls more even.
- Using ceramic tiles, you can recreate any artistic solutions thanks to the variety of colors and patterns offered by ceramic manufacturers.
- The tile is recognized as an ideal material for rooms with a high level of humidity.
The surface can be tiled with the same tiles as the entire room, successfully fitting into the overall style of the bathroom
- Lower cash costs.
- An opportunity to mount a cabin of the form and the size most suitable under features of a specific room.
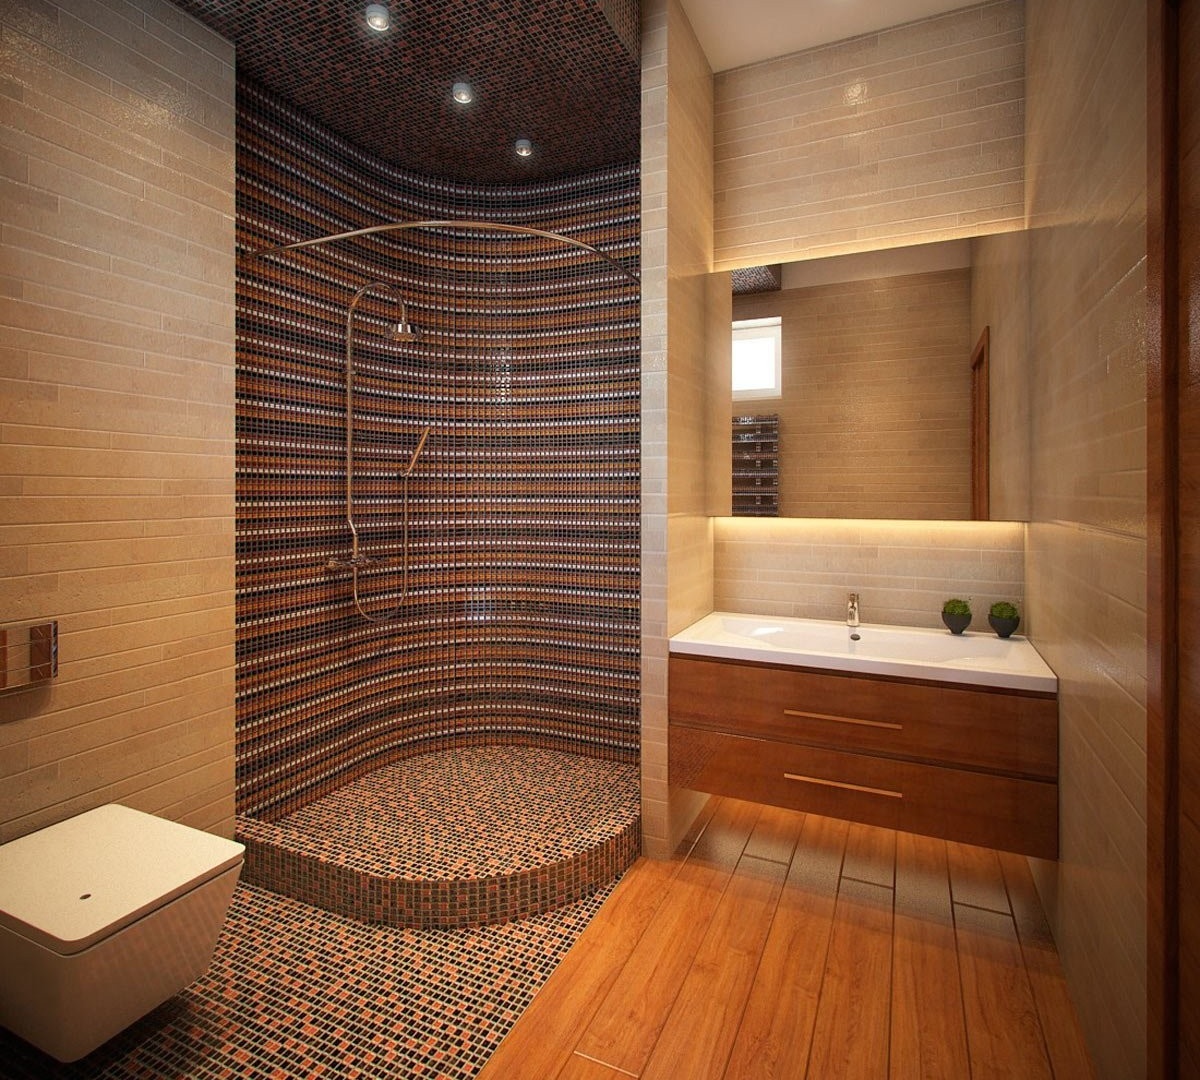
The cabin, faced with contrasting color tiles, looks original and unusual
As for the disadvantages of this design, they can be attributed only to insufficient sound insulation. However, with the help of a soundproofing layer, additionally laid under the screed, a similar problem is easily eliminated.
Material calculation
Before choosing a tile, you should decide on the desired height, size and shape of the shower cabin. It is advisable to draw a diagram of the bathroom for greater clarity. Based on these indicators, you can calculate the approximate required amount of material. Preliminary calculations will help to avoid a sudden lack of material or, conversely, the purchase of excess tiles and cost overruns.
Before you start construction, you need to make markings on the walls and floor. The design can be square, rectangular or rounded, located in a niche or in a corner. If the cabin shape is square or rectangular, then first you need to find the area of each adjacent wall: S = a × b, where a is the height of the wall, b is the width of the wall. In the case of the angular design, there will be two of them, but if the cabin is built into a niche - then three. Then the pallet size is calculated. It is necessary to measure the area of the external and internal walls of the sides of the pallet, taking into account also the width of its side. The obtained indicators are then summed up, and the required amount of facing material is calculated. If the pallet has a rounded shape, then its top view is a quarter of a circle. In this case, its area can be found by the circle area formula: S = PR2 / 4, where R is the cabin width (circle radius).
Tip: When purchasing a tile, it is better to take with a margin of about 10%. An additional amount of material is likely to be useful in the event of a tile battle, the need for a sample when selecting bathroom accessories to match the tile, or when replacing an already laid element.
Video: how to calculate the required number of tiles
Proceed to installation: materials and inventory
Before starting work, stock up on the necessary tool. This is unlikely to require additional costs, because this list is usually available in every house:
- Chisel, spatula, trowel;
- Trowel;
- Sewer pipe, drain ladder;
- Profile PN 27x28 (wooden slats), plaster beacons;
- Roller or brush;
- Drill with nozzles;
- Level for leveling the surface;
- Tool for cutting tiles.
In addition to the tool, all the necessary materials are prepared:
- Sand;
- Cement;
- Waterproofing material;
- Bricks;
- Bitumen mastic;
- Waterproof tile adhesive (preferably white);
- Facing tile.
If you have all of the above, you can start building a tiled cabin.
Note: you can align the tile using a spatula with a rubberized handle or a rubber hammer, and the same width of all the joints between the tile fragments is achieved by using crosses to align the tiles.
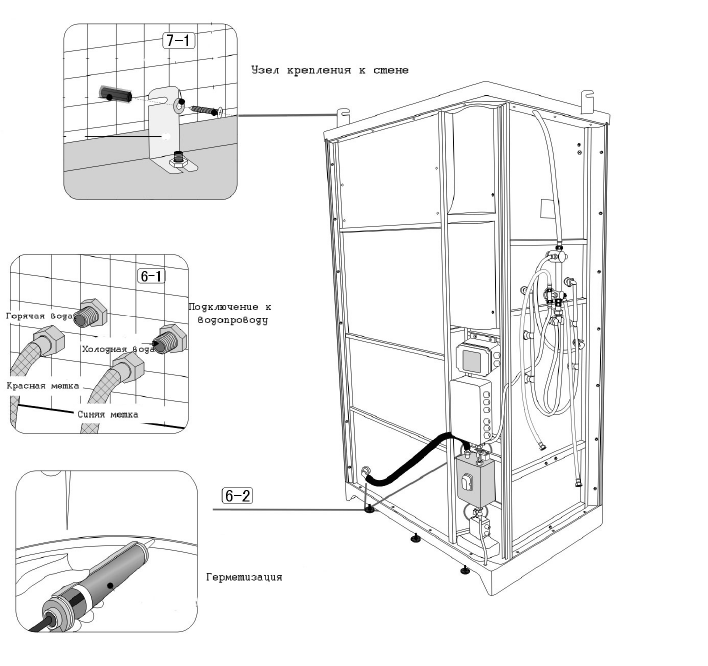
Assembly and installation diagram
Initial stage: how to properly build the base of the cabin
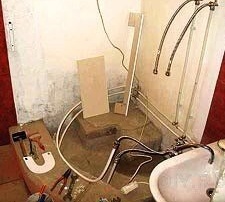
Before you begin installing the pallet, you need to think about laying communications: connecting forced ventilation and conducting electricity. With the foundation already erected, it will be more than problematic to lay communications, as well as to correct installation flaws. The wall needs to be drilled and fixed to the place where the mixer will be connected.
Before installation, you should check and prepare the floor surface: remove all debris and cover the surface with bituminous mastic, going a little on the walls.
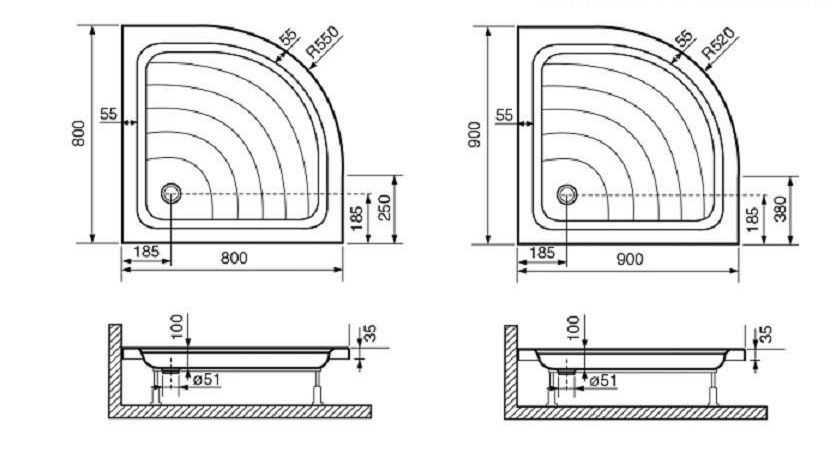
Installation scheme for shower tray
If there was no screed in the room before installing the pallet, it should be done. Then the screed is covered with a waterproofing mixture. This will prevent the accumulation of excess moisture and, as a result, the appearance of an unpleasant odor and pathogenic microflora. Do not forget about the sound insulation of pipes: a special polymer membrane is suitable for this purpose.
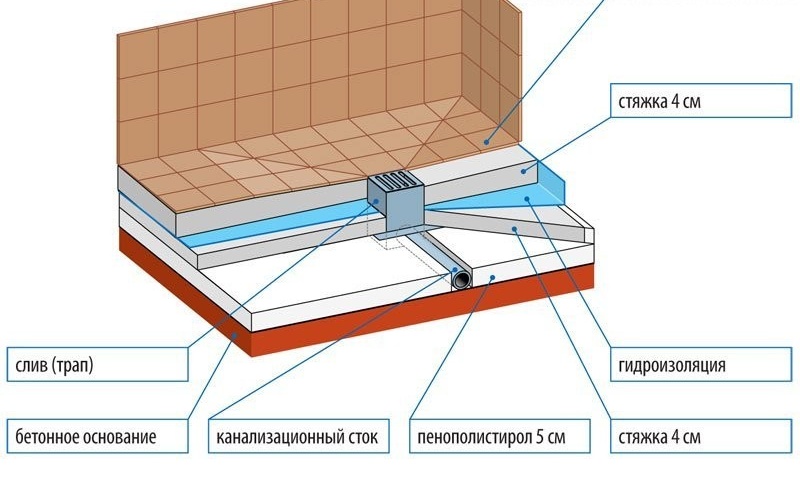
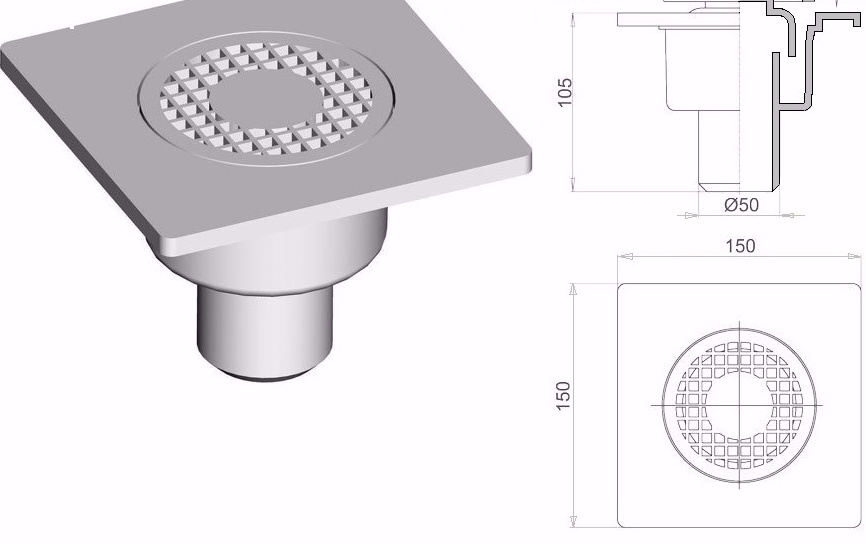
Design diagram of a drain ladder
When installing the base of the shower cabin, a competent role is played by the competent installation of the ladder (gutter).
Installation of a point ladder
With the help of clamps on the floor surface, a sewer pipe is fixed, previously threaded into a wider metal pipe for safety reasons.
Important! To seamlessly drain the water and prevent stagnation, the pipes are installed at an angle of 3 ° with a slope to the sewer.
All elements must be sealed. So that fittings and pipes have a longer service life, are not subjected to corrosion and other types of destruction, care must be taken to select high-quality elements. The design of the drain must be firmly fixed. Only after making sure that it is properly installed, you can begin the process of pouring the base.
DIY pallet installation
The first stage of installation of a shower tray is waterproofing the working area. With the help of a paint brush, the floor and walls are treated with a waterproofing solution to the height of the adjacent pallet. As a waterproofing, bitumen mastic can be used, as well as more modern mixtures: liquid polymer-sand, rubber or glass compositions.
Next, the foundation is laid out of brick; It is advisable to choose a moisture resistant material. The solution can be made of sand, cement, water and a plasticizer or purchased in a store. The brick is laid on the floor, around the exit of the ladder, a side is laid out around the perimeter of the pallet. Its height is usually equivalent to the width of one brick, however, if desired, it can be different. The main thing is that the fence does not interfere with a comfortable passage into the cabin and prevent water from entering the room. All slots should be gently wiped with a solution and lay the reinforcing mesh on the base. Liquid waterproofing should also be applied to the surface of the constructed pallet.
The screed is made of sand, cement and gravel and poured with the help of building beacons onto the surface of the foundation. After the screed has dried, it is also necessary to apply a waterproofing solution to it.
Video: how to mount a ladder and a pallet
Before facing, the surface of the brick frame should be leveled, for which it is covered with a leveling mixture.
Tip: to achieve the most even surface, you should wipe it with the help of special construction sponges or graters.
Now you can start laying tiles with waterproof glue. The preparation of the adhesive solution should be done immediately before use. Start laying tiles from a far central angle. Glue is recommended to be applied with a notched trowel, to fix the tile it should be slightly pressed to the surface. Using crosses, you can even out the thickness of the seams.
Finish
In addition to the usual tiles, mosaic decoration is popular. This type of cladding is preferred due to a wide range of mosaic paintings and ease of installation. In the case of using a mosaic, it is better to select glue of white color, and it is strongly recommended to grout the seams before the composition dries.
At the final stage, you need to grind the seams and clean the surface. There are special mixtures for grouting. They are applied with a spatula or sponge, after which the surface is carefully rubbed, excess glue is removed and the tile is rubbed. It is better to choose the mixture in the tone of the cladding, as over time it is able to change its color and distort the shade of the tile.
When the base is ready and the tiles are laid, special profiles are fastened to the floor, ceiling and walls with the help of dowels, on which the selected cabin doors are then attached. First, a fixed wall is fixed, then sliding walls are attached to special rollers. For tightness of the shower, the seams are treated with silicone sealant. Another option: you can not install glass doors, but simply hang on a horizontal bar a normal moisture-proof curtain. Upon completion, the necessary plumbing and accessories are installed.
Video: Some tips for decorating a shower with a mosaic
At first glance, creating a personal design of a shower zone will seem troublesome, it is doubly difficult to take into account all the pitfalls for beginning repairmen who have never encountered similar situations and do not know the subtleties. But if you approach the matter creatively, with enthusiasm and attention, you can achieve an amazing result.